
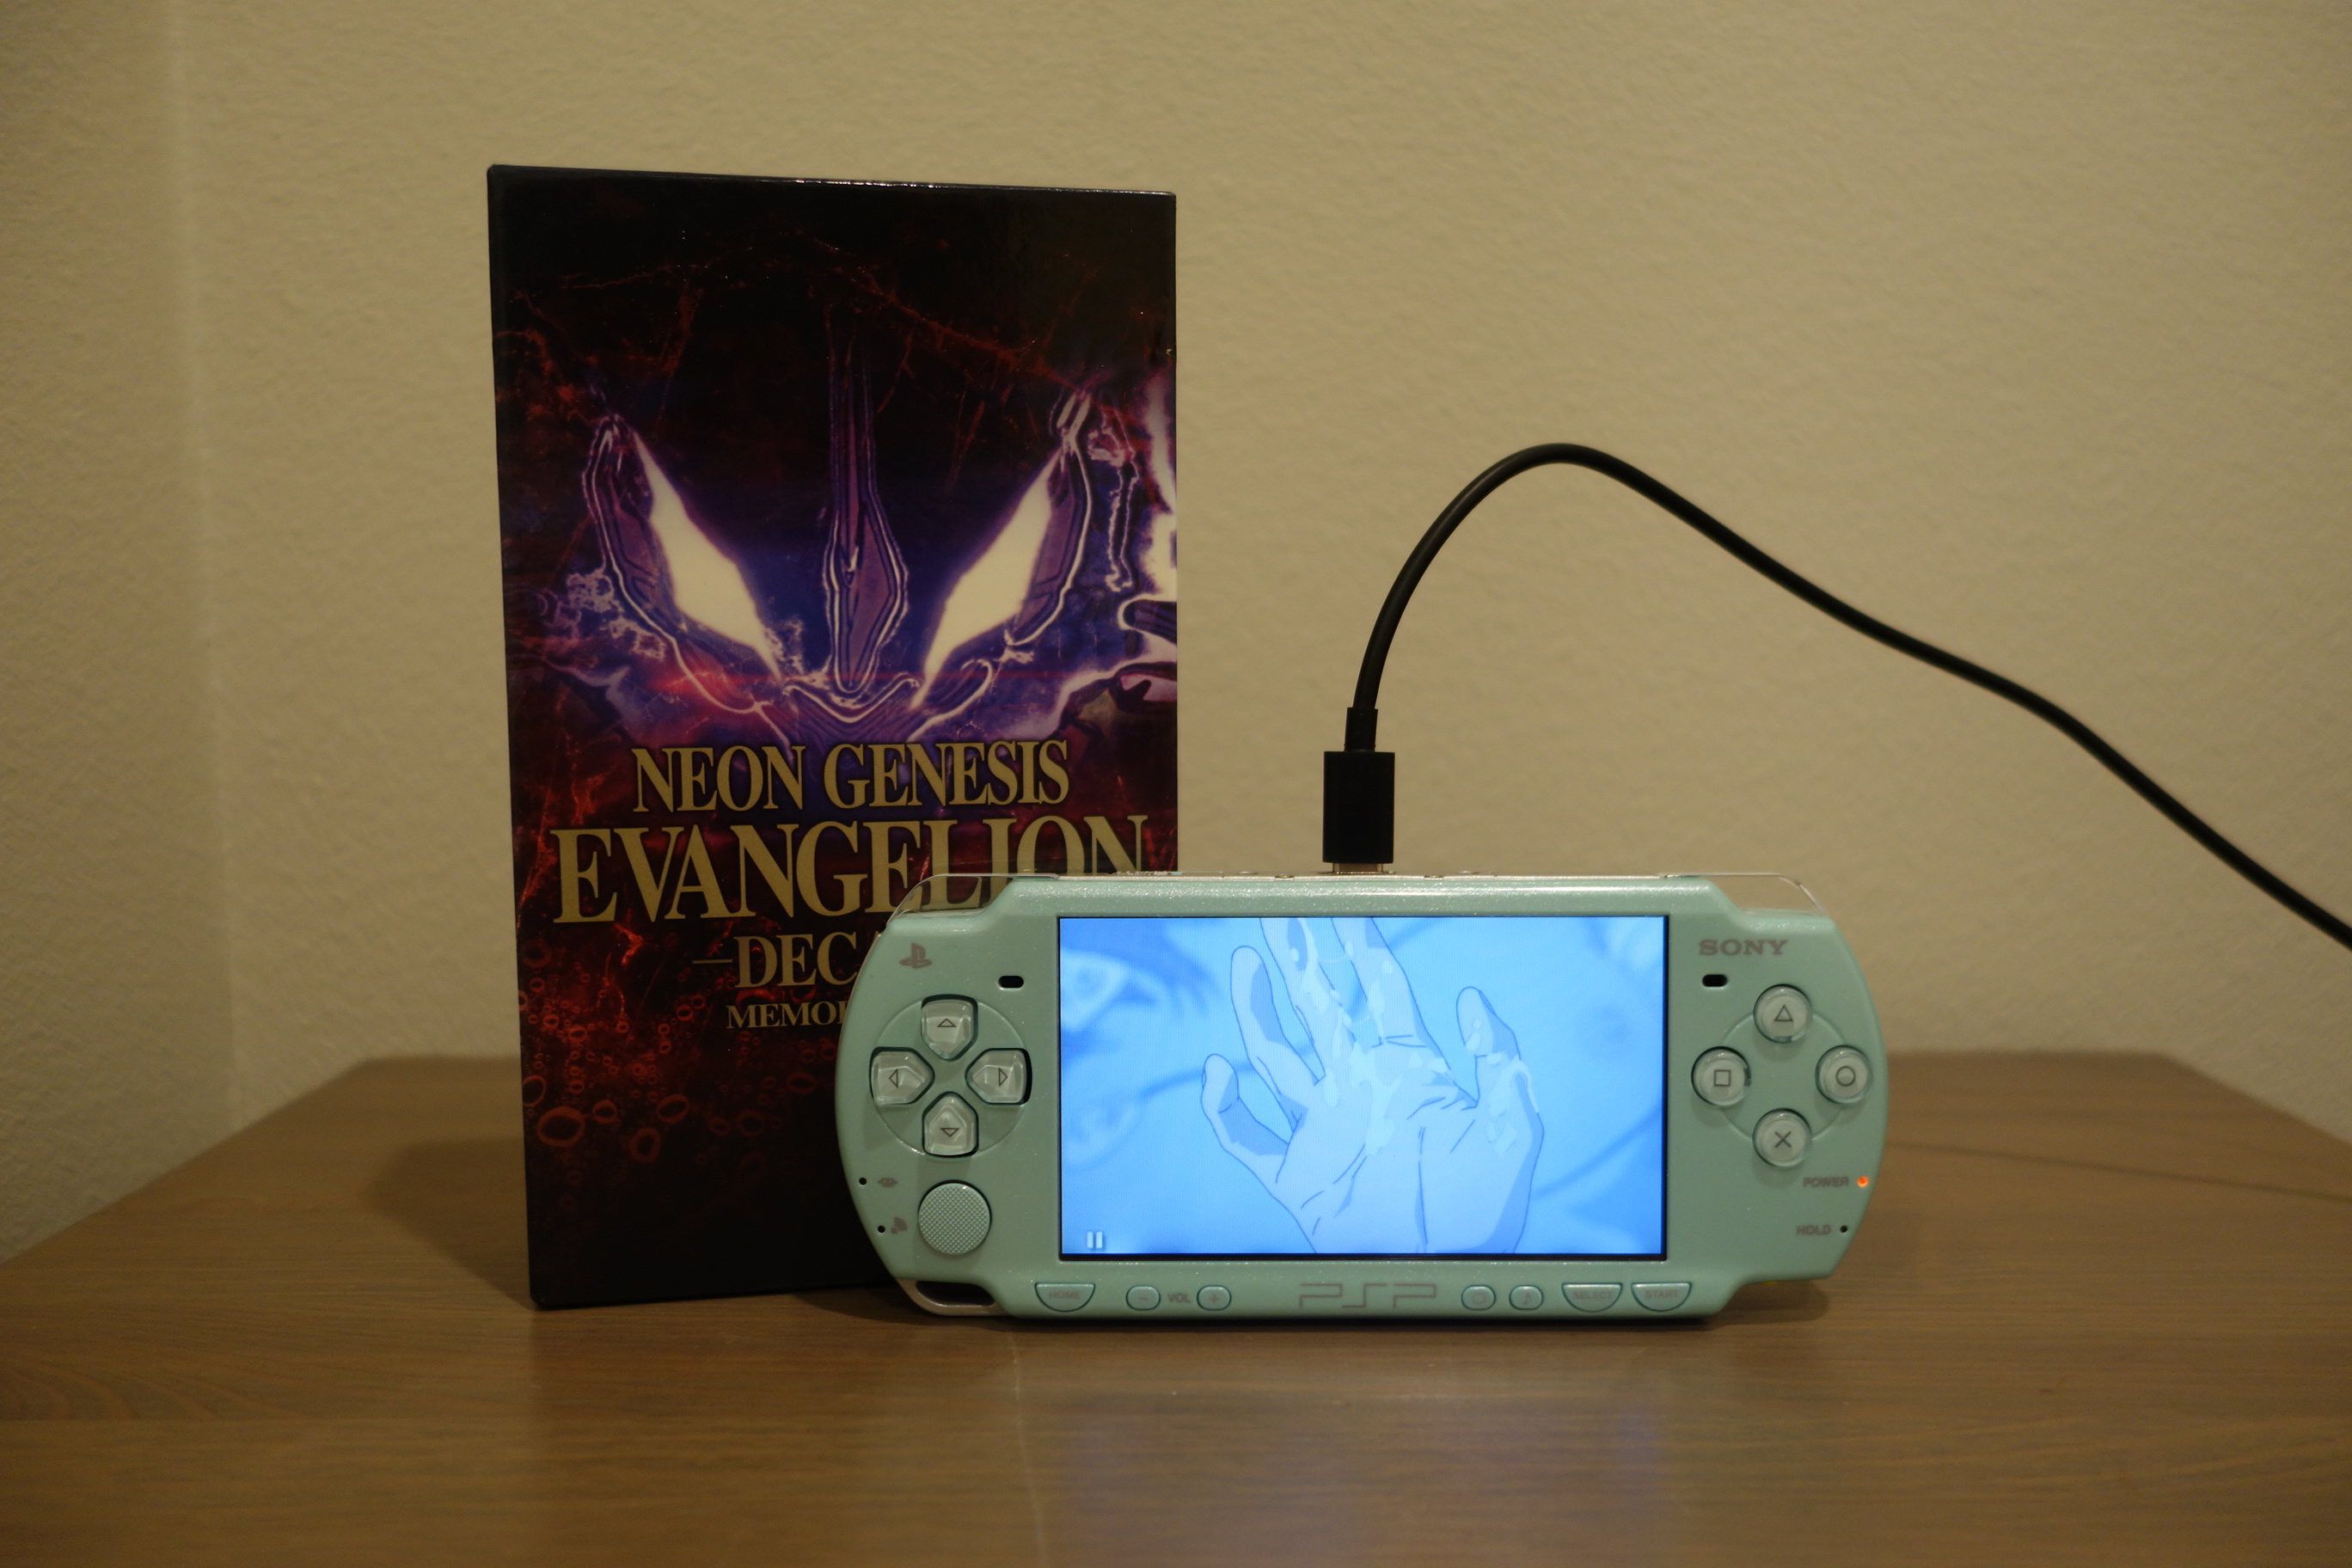
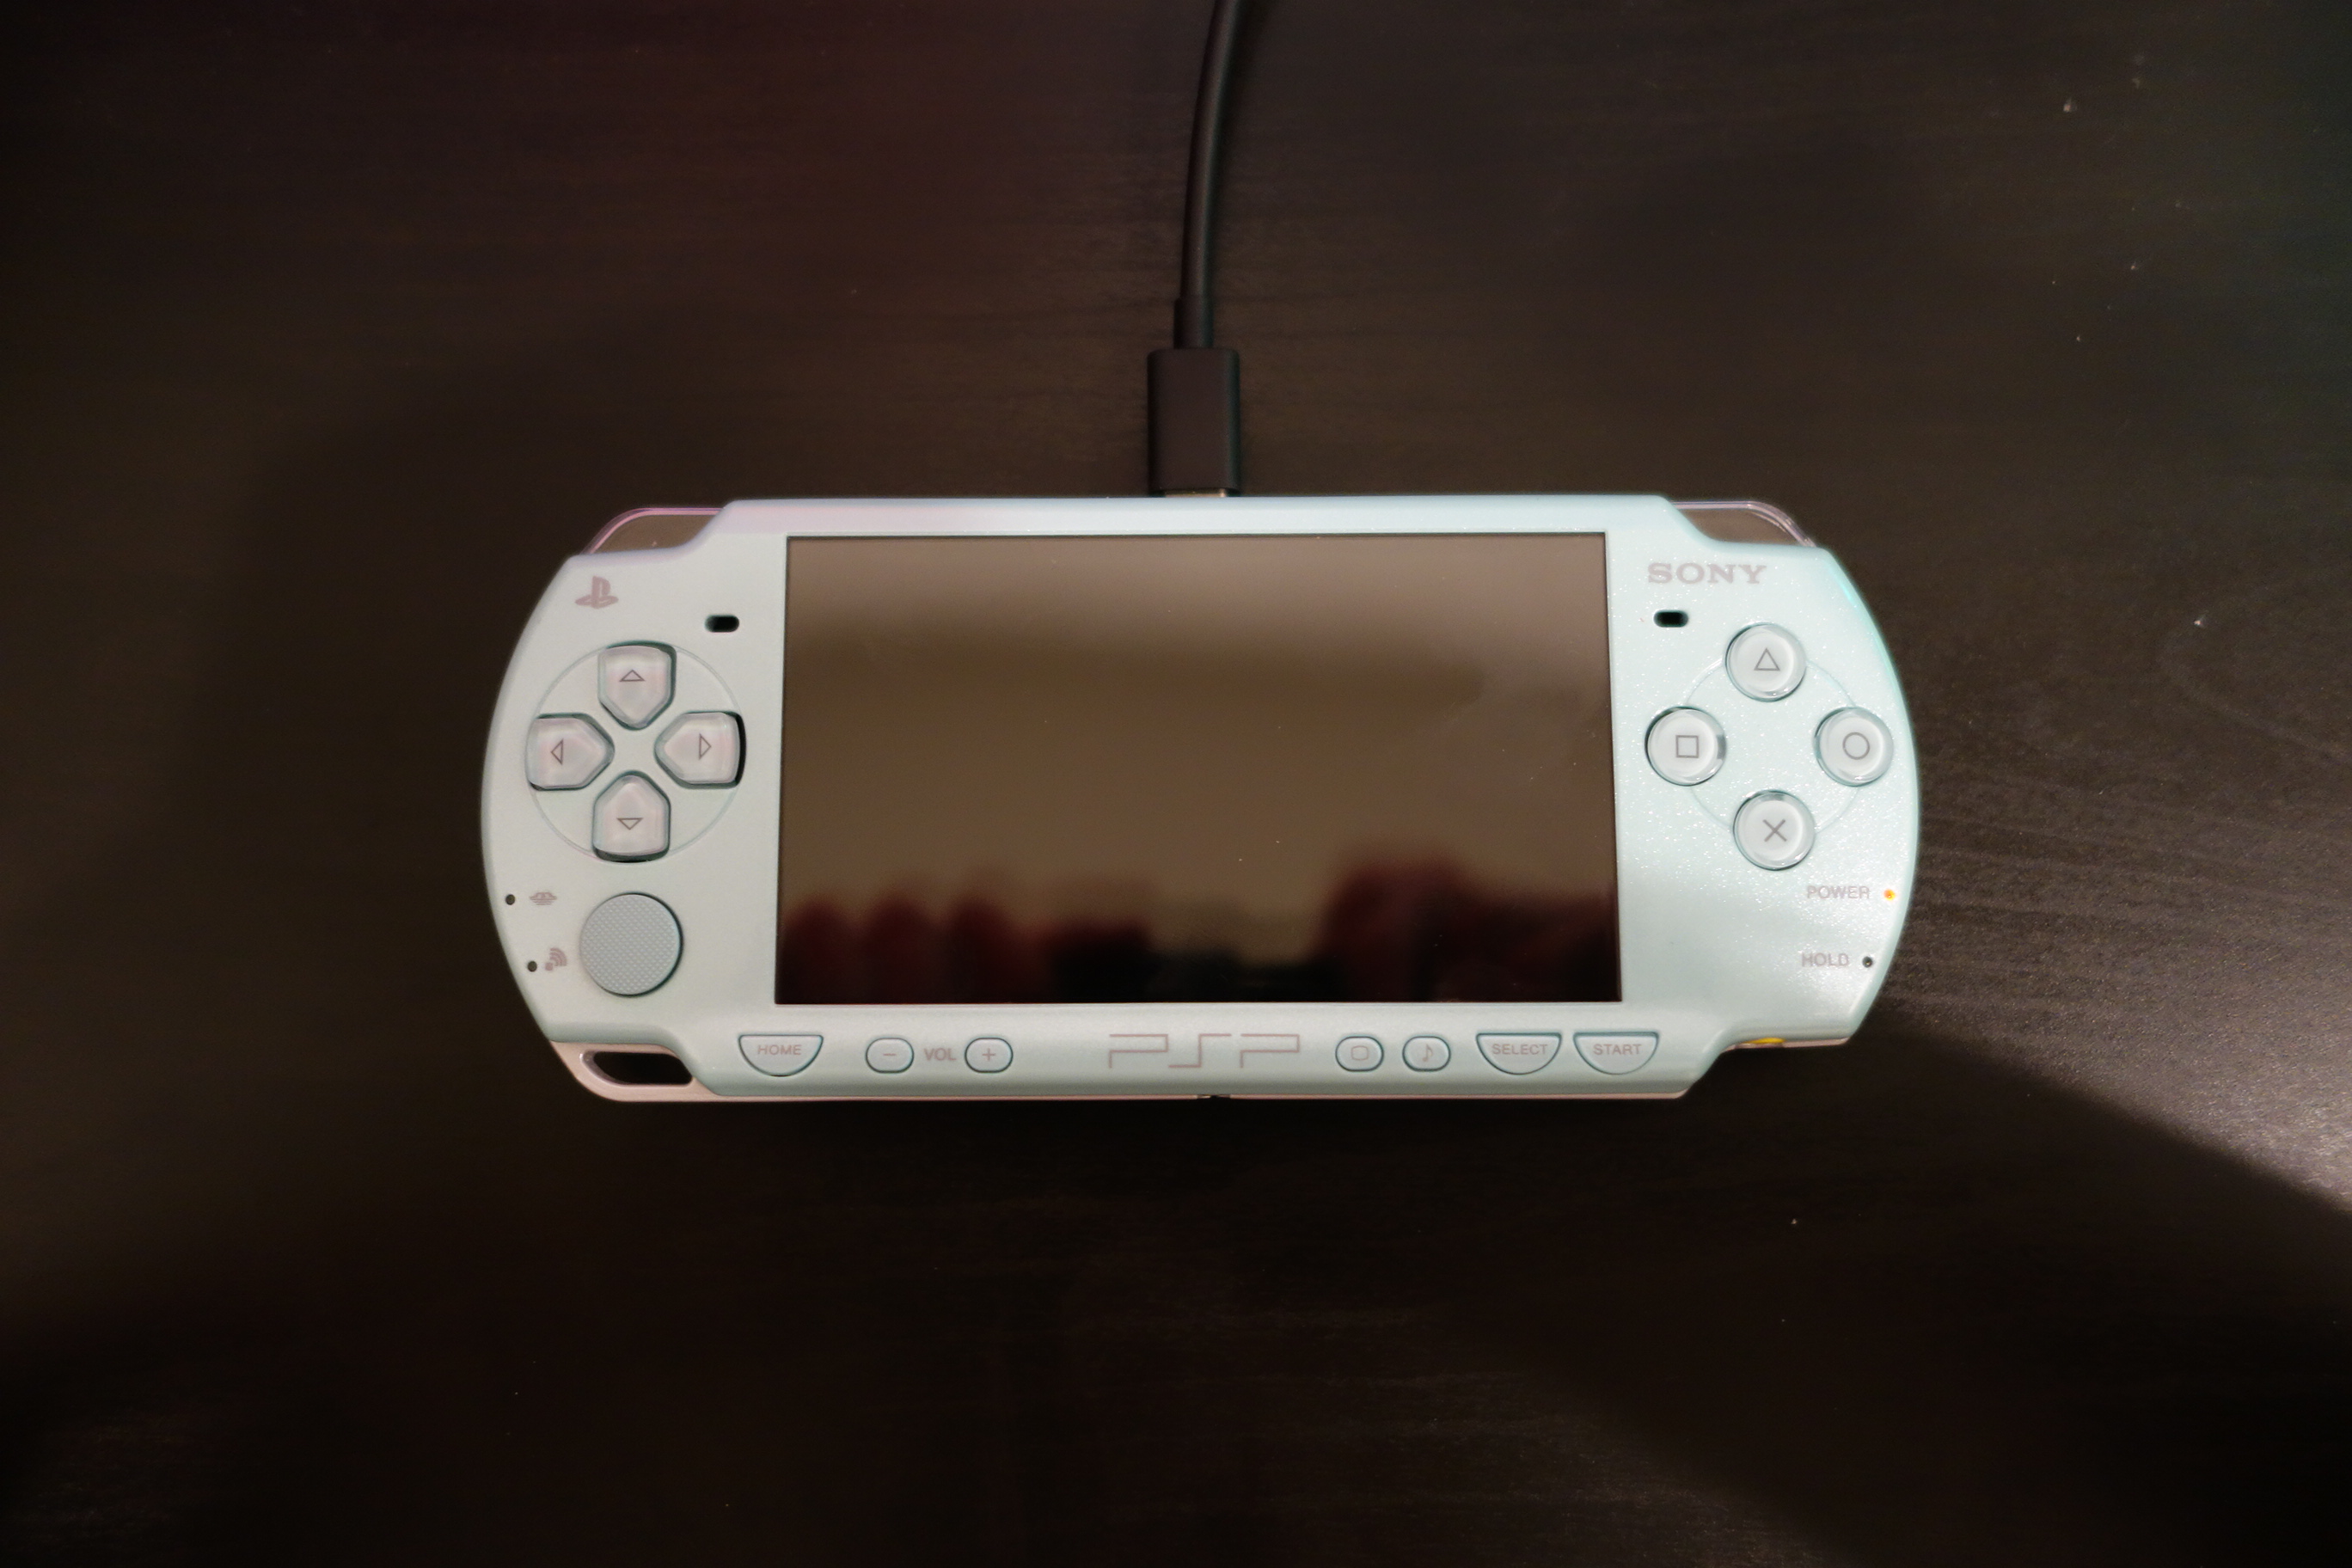
As something of an update on the parts I got, I finished adding USB-C to my PSP 2000, and I wanted to make a small guide on how to do it, for anyone else that would want to do this.
|
| Click for full image. |
|
|
⚠️DISCLAIMER⚠️
I am NOT a modding expert, and this guide will show that very clearly, so follow as closely as you want to at your discretion.
Tools I Used
I'm not really someone who has a ton of tools and things that might've made this easier for myself on hand, so it's up to you what you need.
- Soldering iron
- Tweezers
- Desoldering wick/pump
- Flush cutters
- Hot glue gun
- Xacto knife
- Small Philips and Torx screwdrivers
Materials I Used
- Solder
- Solder flux
- Hot glue
- Wire (I didn't use very thin wire, but you should, get about 30AWG or more thick)
- Kapton tape
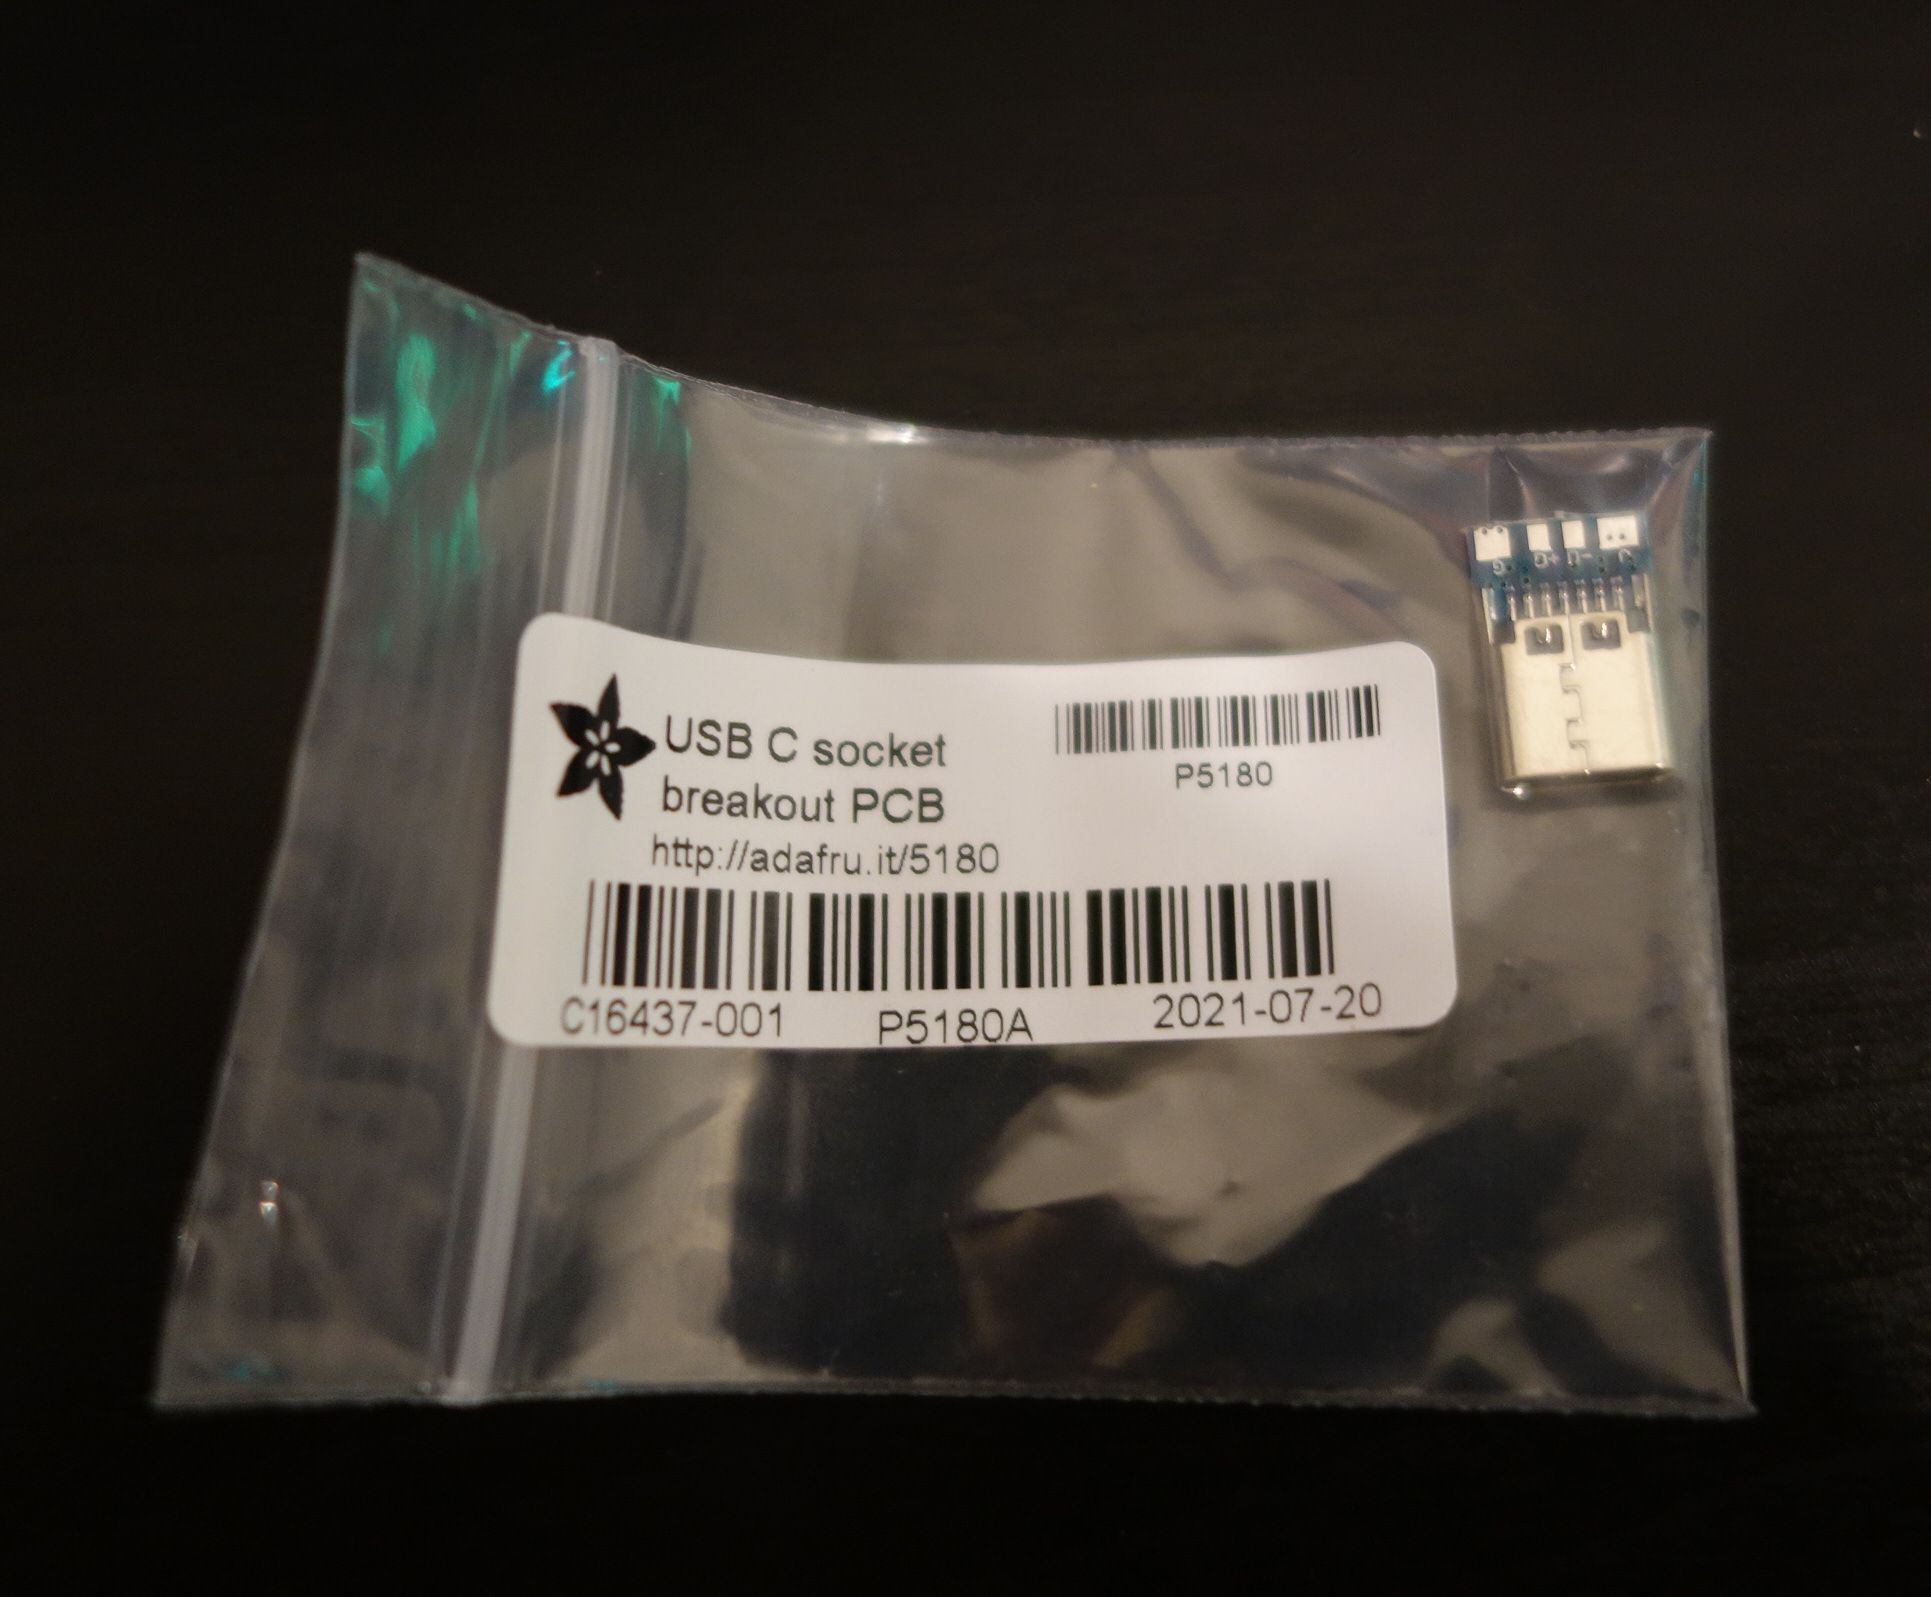
- A USB-C port (duh)
As for the USB-C port, make sure it's small, the PSP is very cramped inside. Adafruit has good USB-C boards for these kinda projects, so I bought a few for the future in case I want to do more of these mods.
|
| Click for full image. |
|
|
Getting Started
The first step is uh, taking it apart. Not hard to do, and I won't go into detail, since there are many guides that tell you how to take the PSP apart. Just disassemble and take out stuff until you're able to remove the board from the case. From here, choose where to put the port.
Where To Put The Port
This is something that I took a second to decide. Originally, I only intended the port to be charging only and found a place inside to put it...
|
| Click for full image. |
|
|
...but it ended up being too small, since that was where the connection to the battery was sitting. You could probably find another place to put the port if there's space, but for me, the main two options were to replace the barrel jack on the bottom of the console, or replace the Mini USB port on the top of the console. I was going to decide to replace the barrel jack, but ended up going with replacing the Mini USB because I would be able to use the USB-C port for data transfer (...yeah that didn't go as planned, but I'll get to that later though) and also I found out that you could use the data lanes on the USB and use the power lanes from the charging port, which gives the best of both worlds.
For those that don't know, the USB port on the PSP only lets you charge on models after the 1000 model, but is VERY, VERY slow. Not to mention, you can't charge with USB without the console on, so that's pretty lame. So by doing it the way I mentioned before, it gives the best of each. However, you can just replace the barrel jack if you wanted to, it would be easier too since the jack is not surface mounted to the board, however it would leave a larger gap when putting the USB-C port in. In the end, the choice is yours, and this guide will cover replacing the Mini USB.
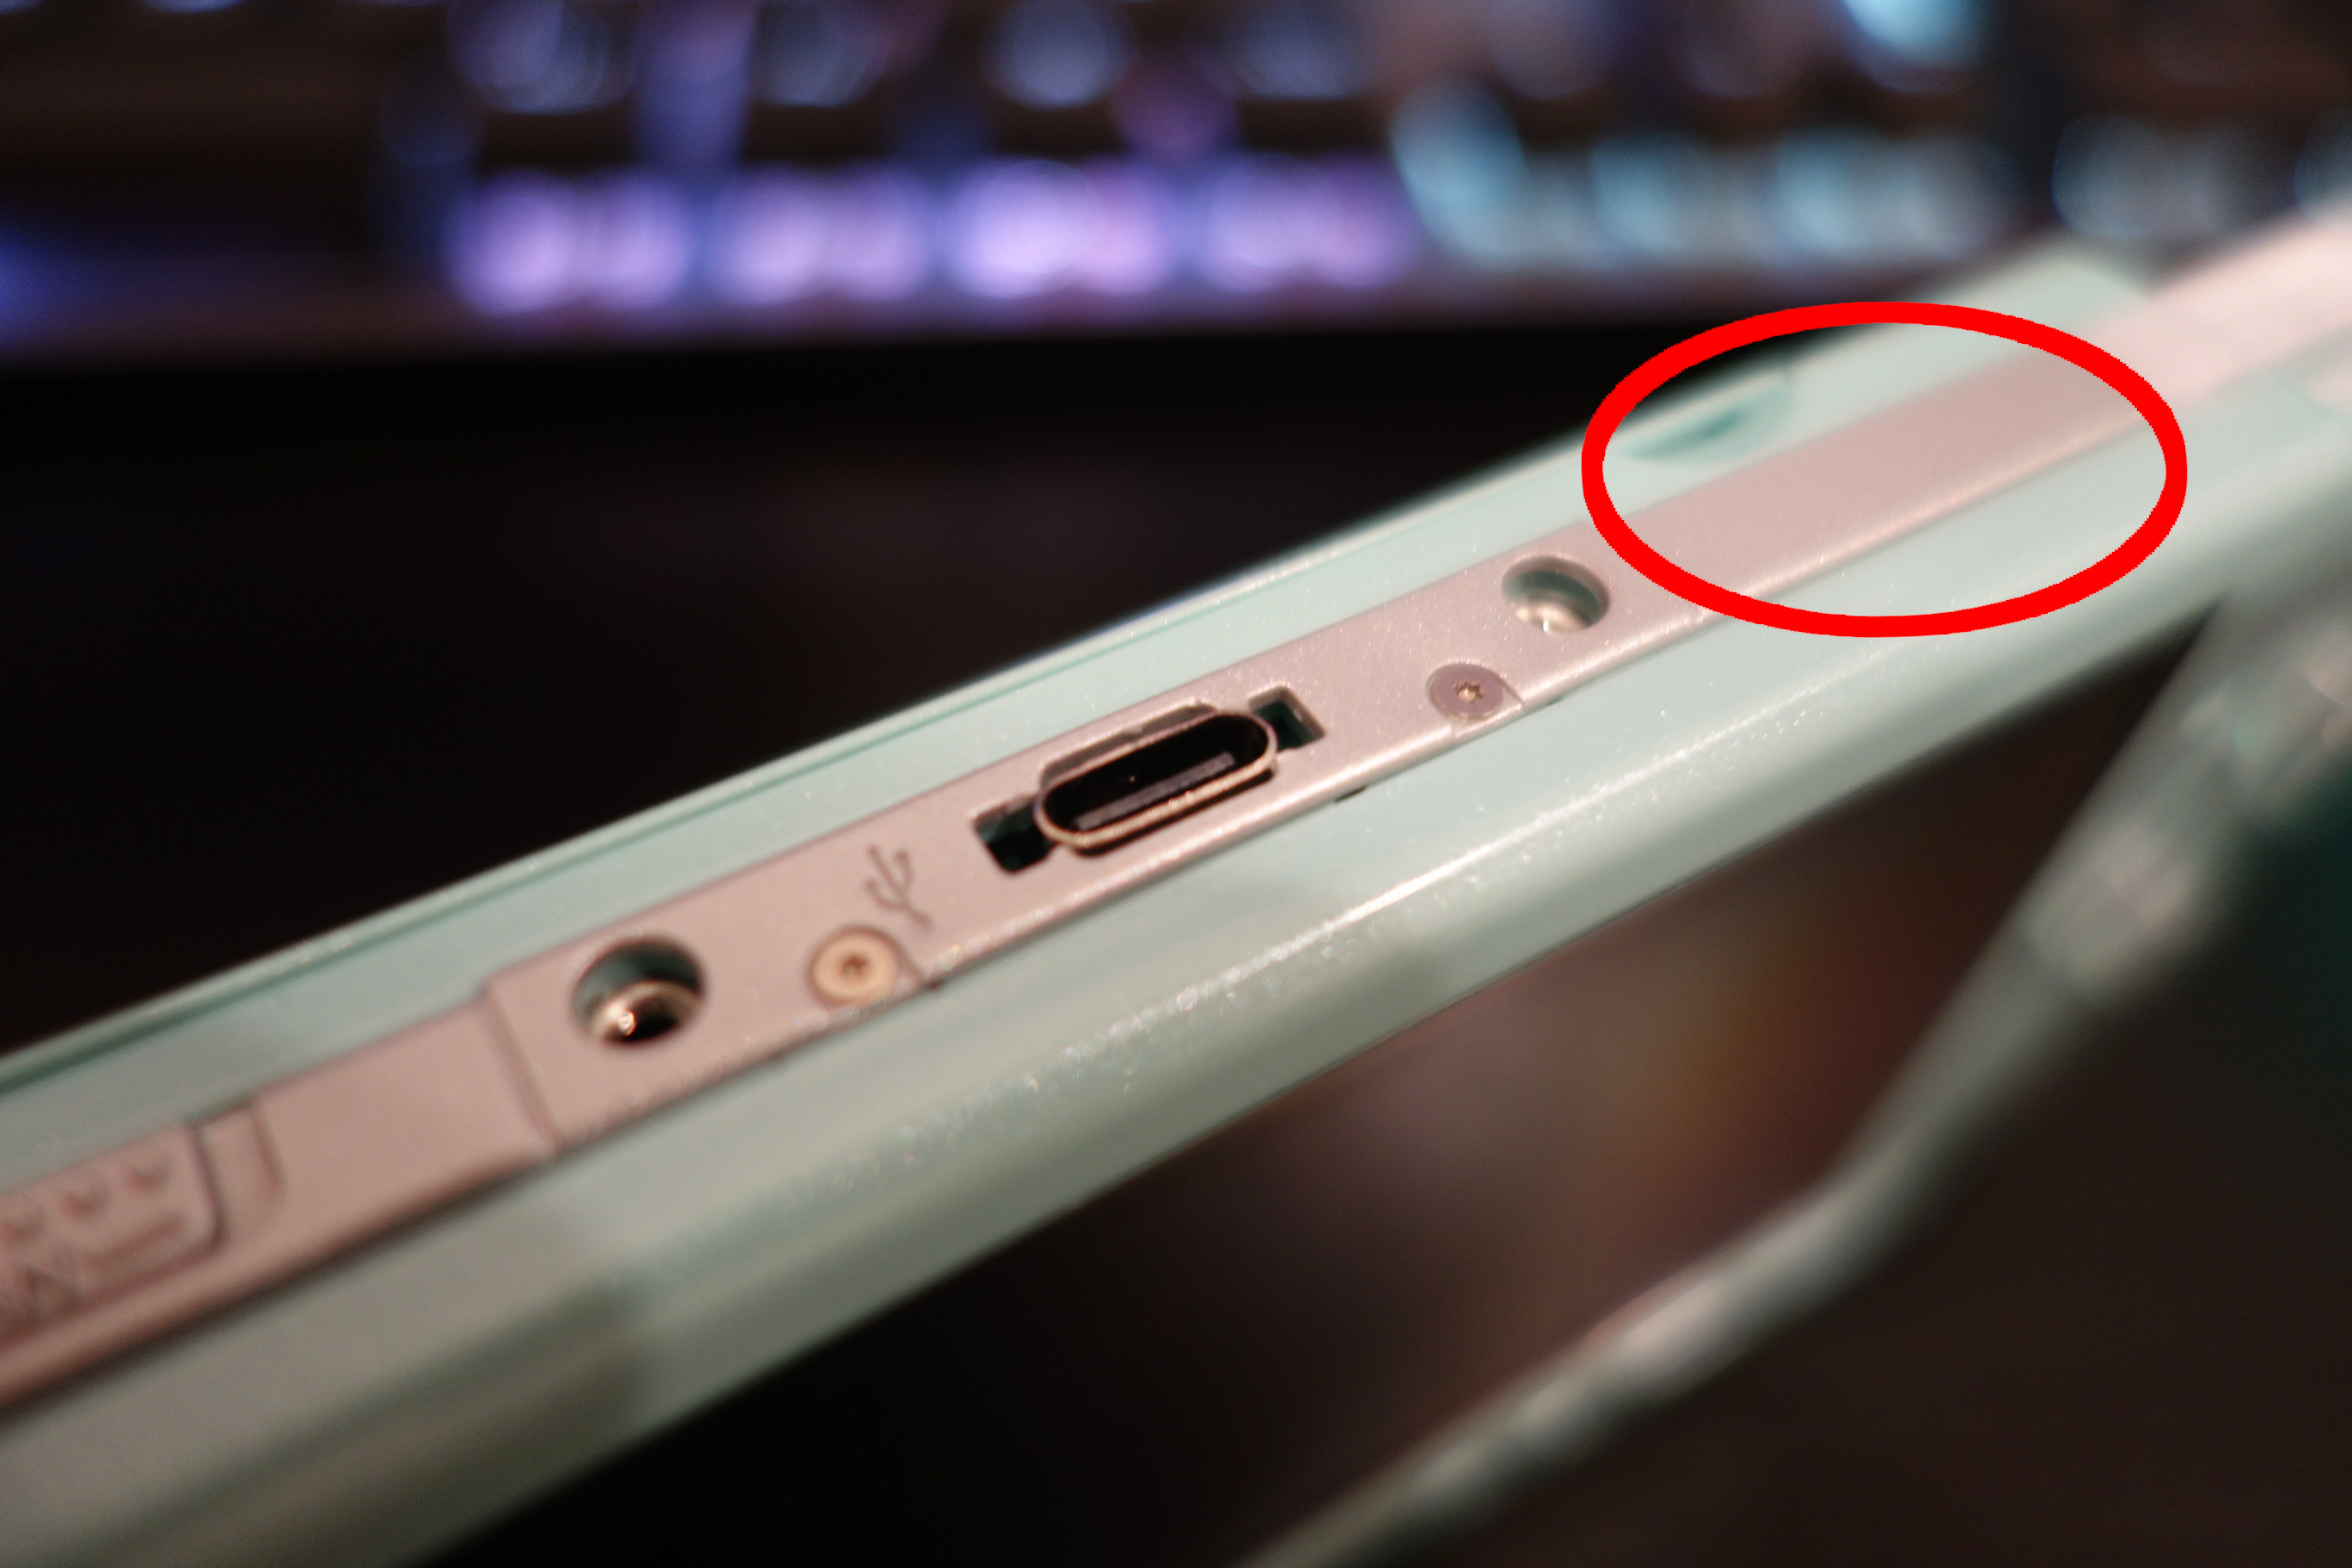
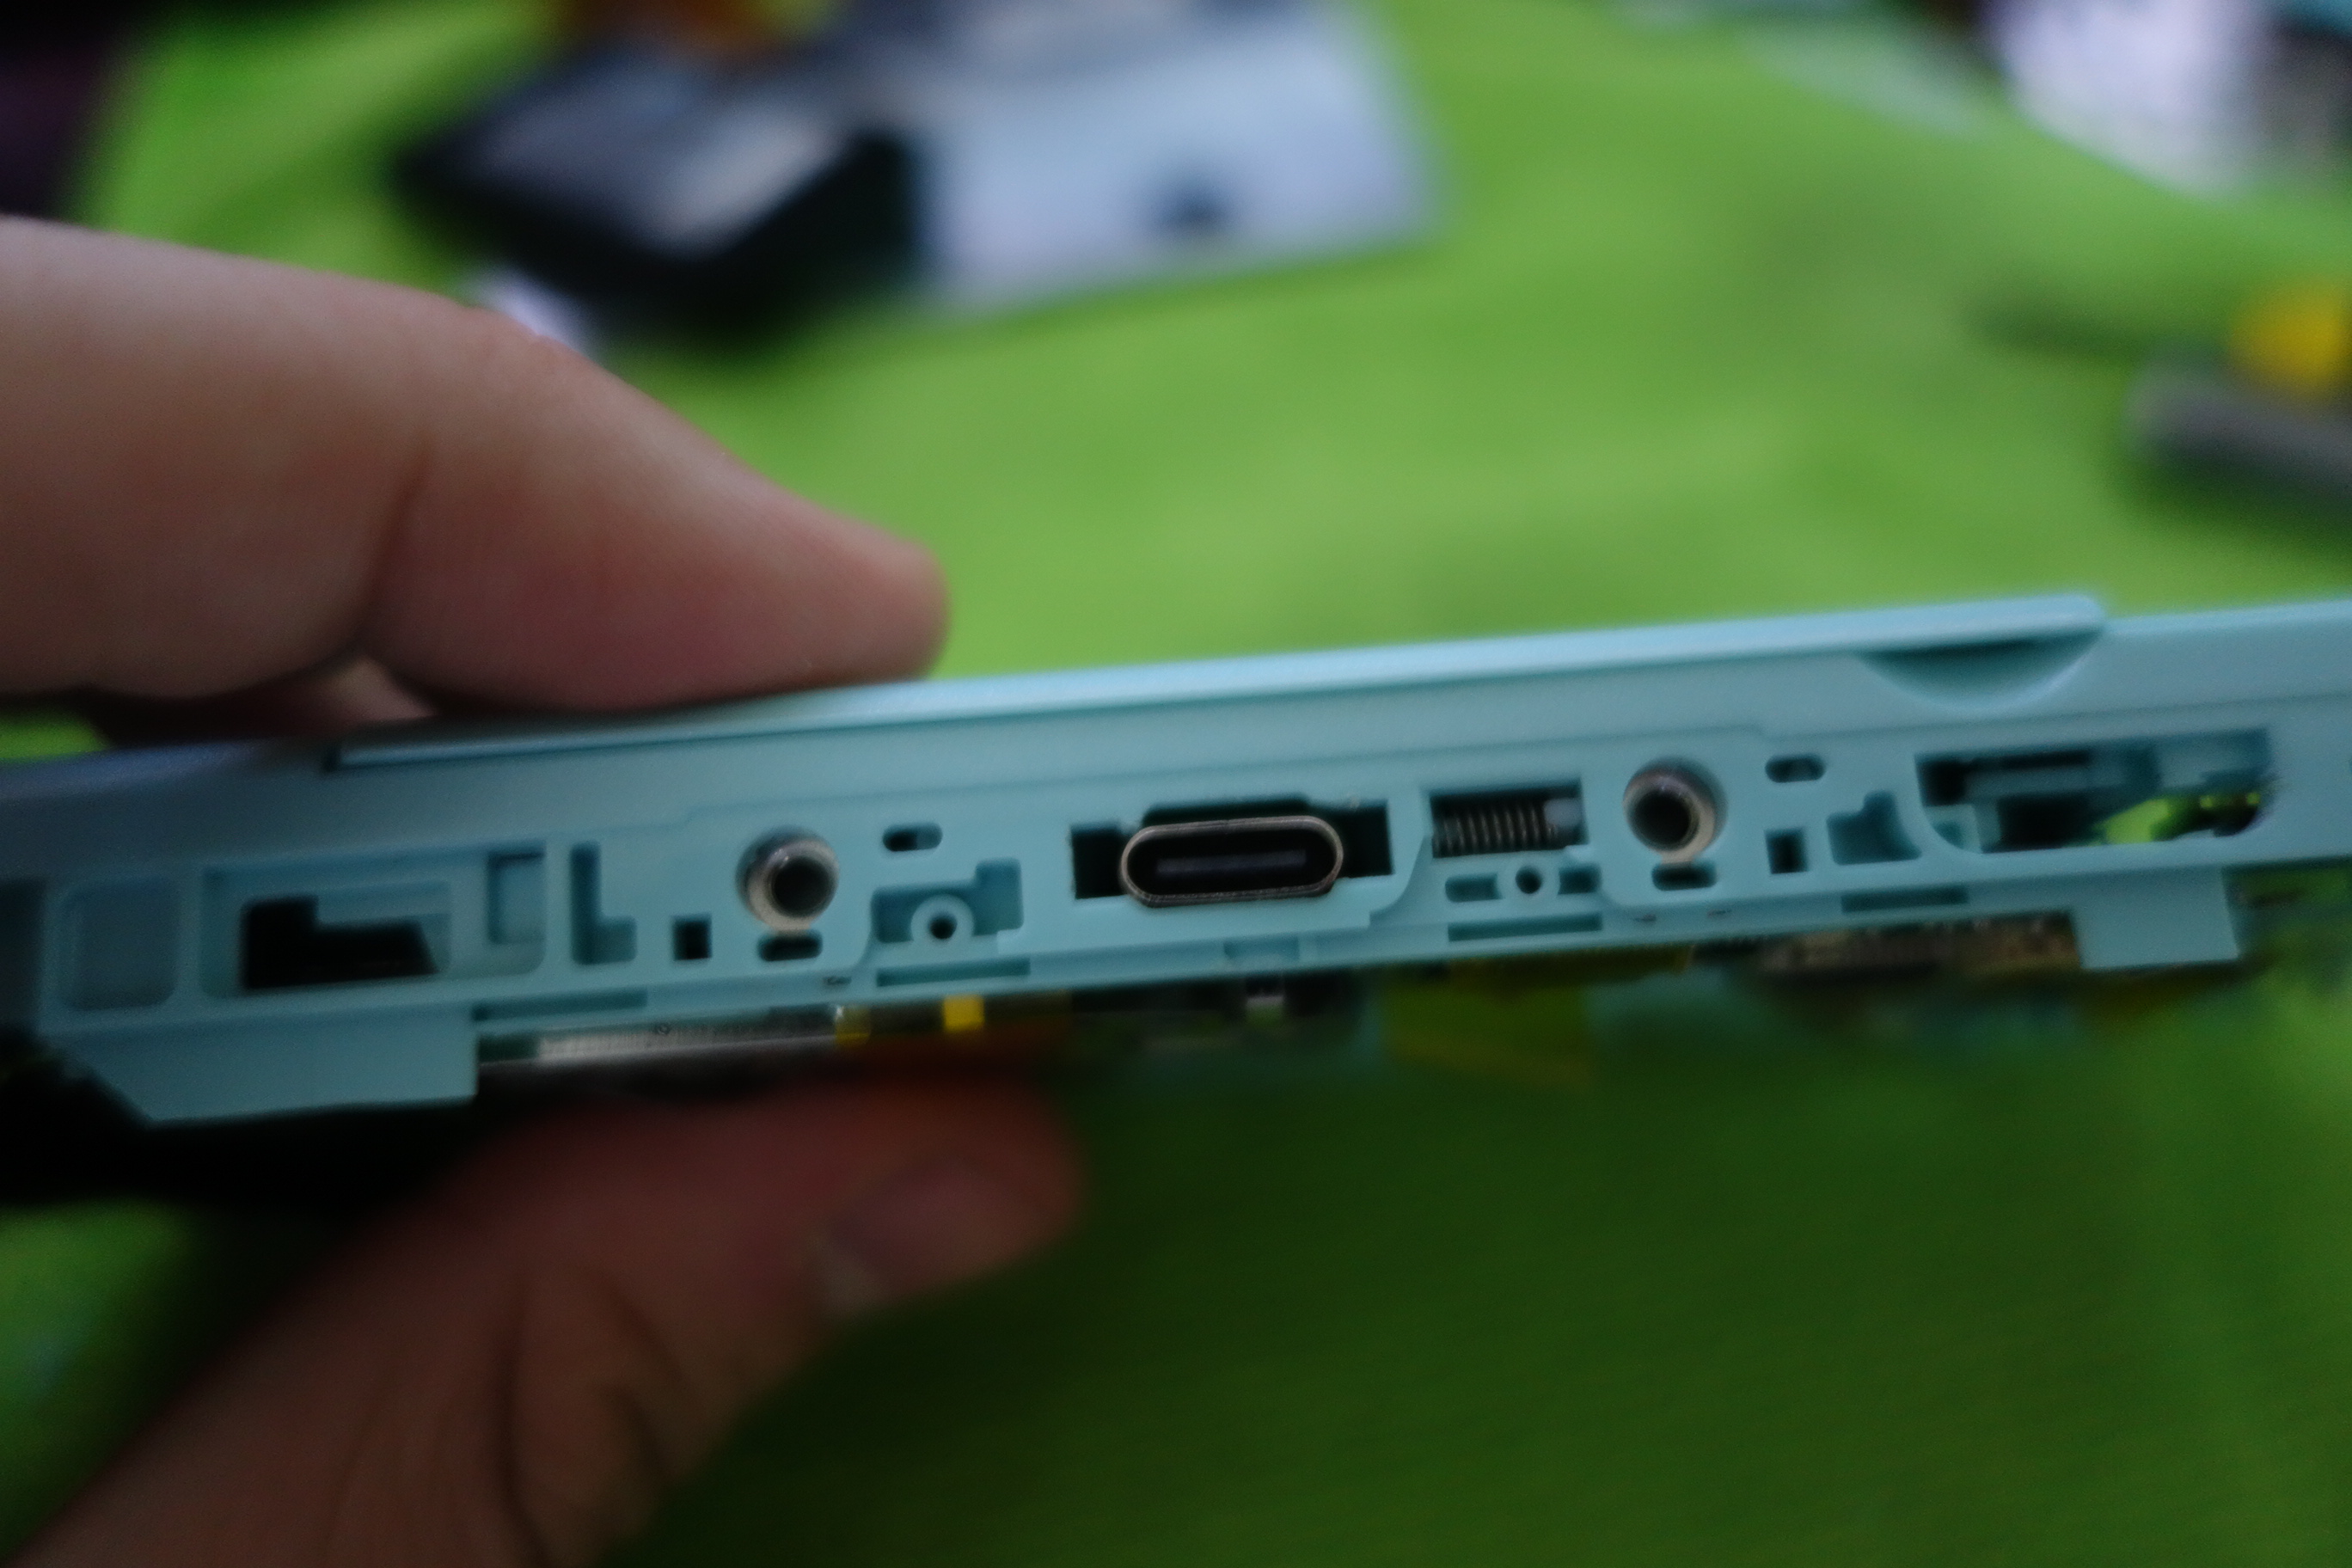
Cutting The Case
In order to fit the USB-C port properly in the case, some cuts will need to be made where the Mini USB port would sit. I just used my Xacto knife to cut out a square chunk from the housing and part of a plastic piece from the UMD mechanism, but this won't break the piece or mechanism. This may differ between different models though, I don't know.
|
| Click for full image. |
|
|
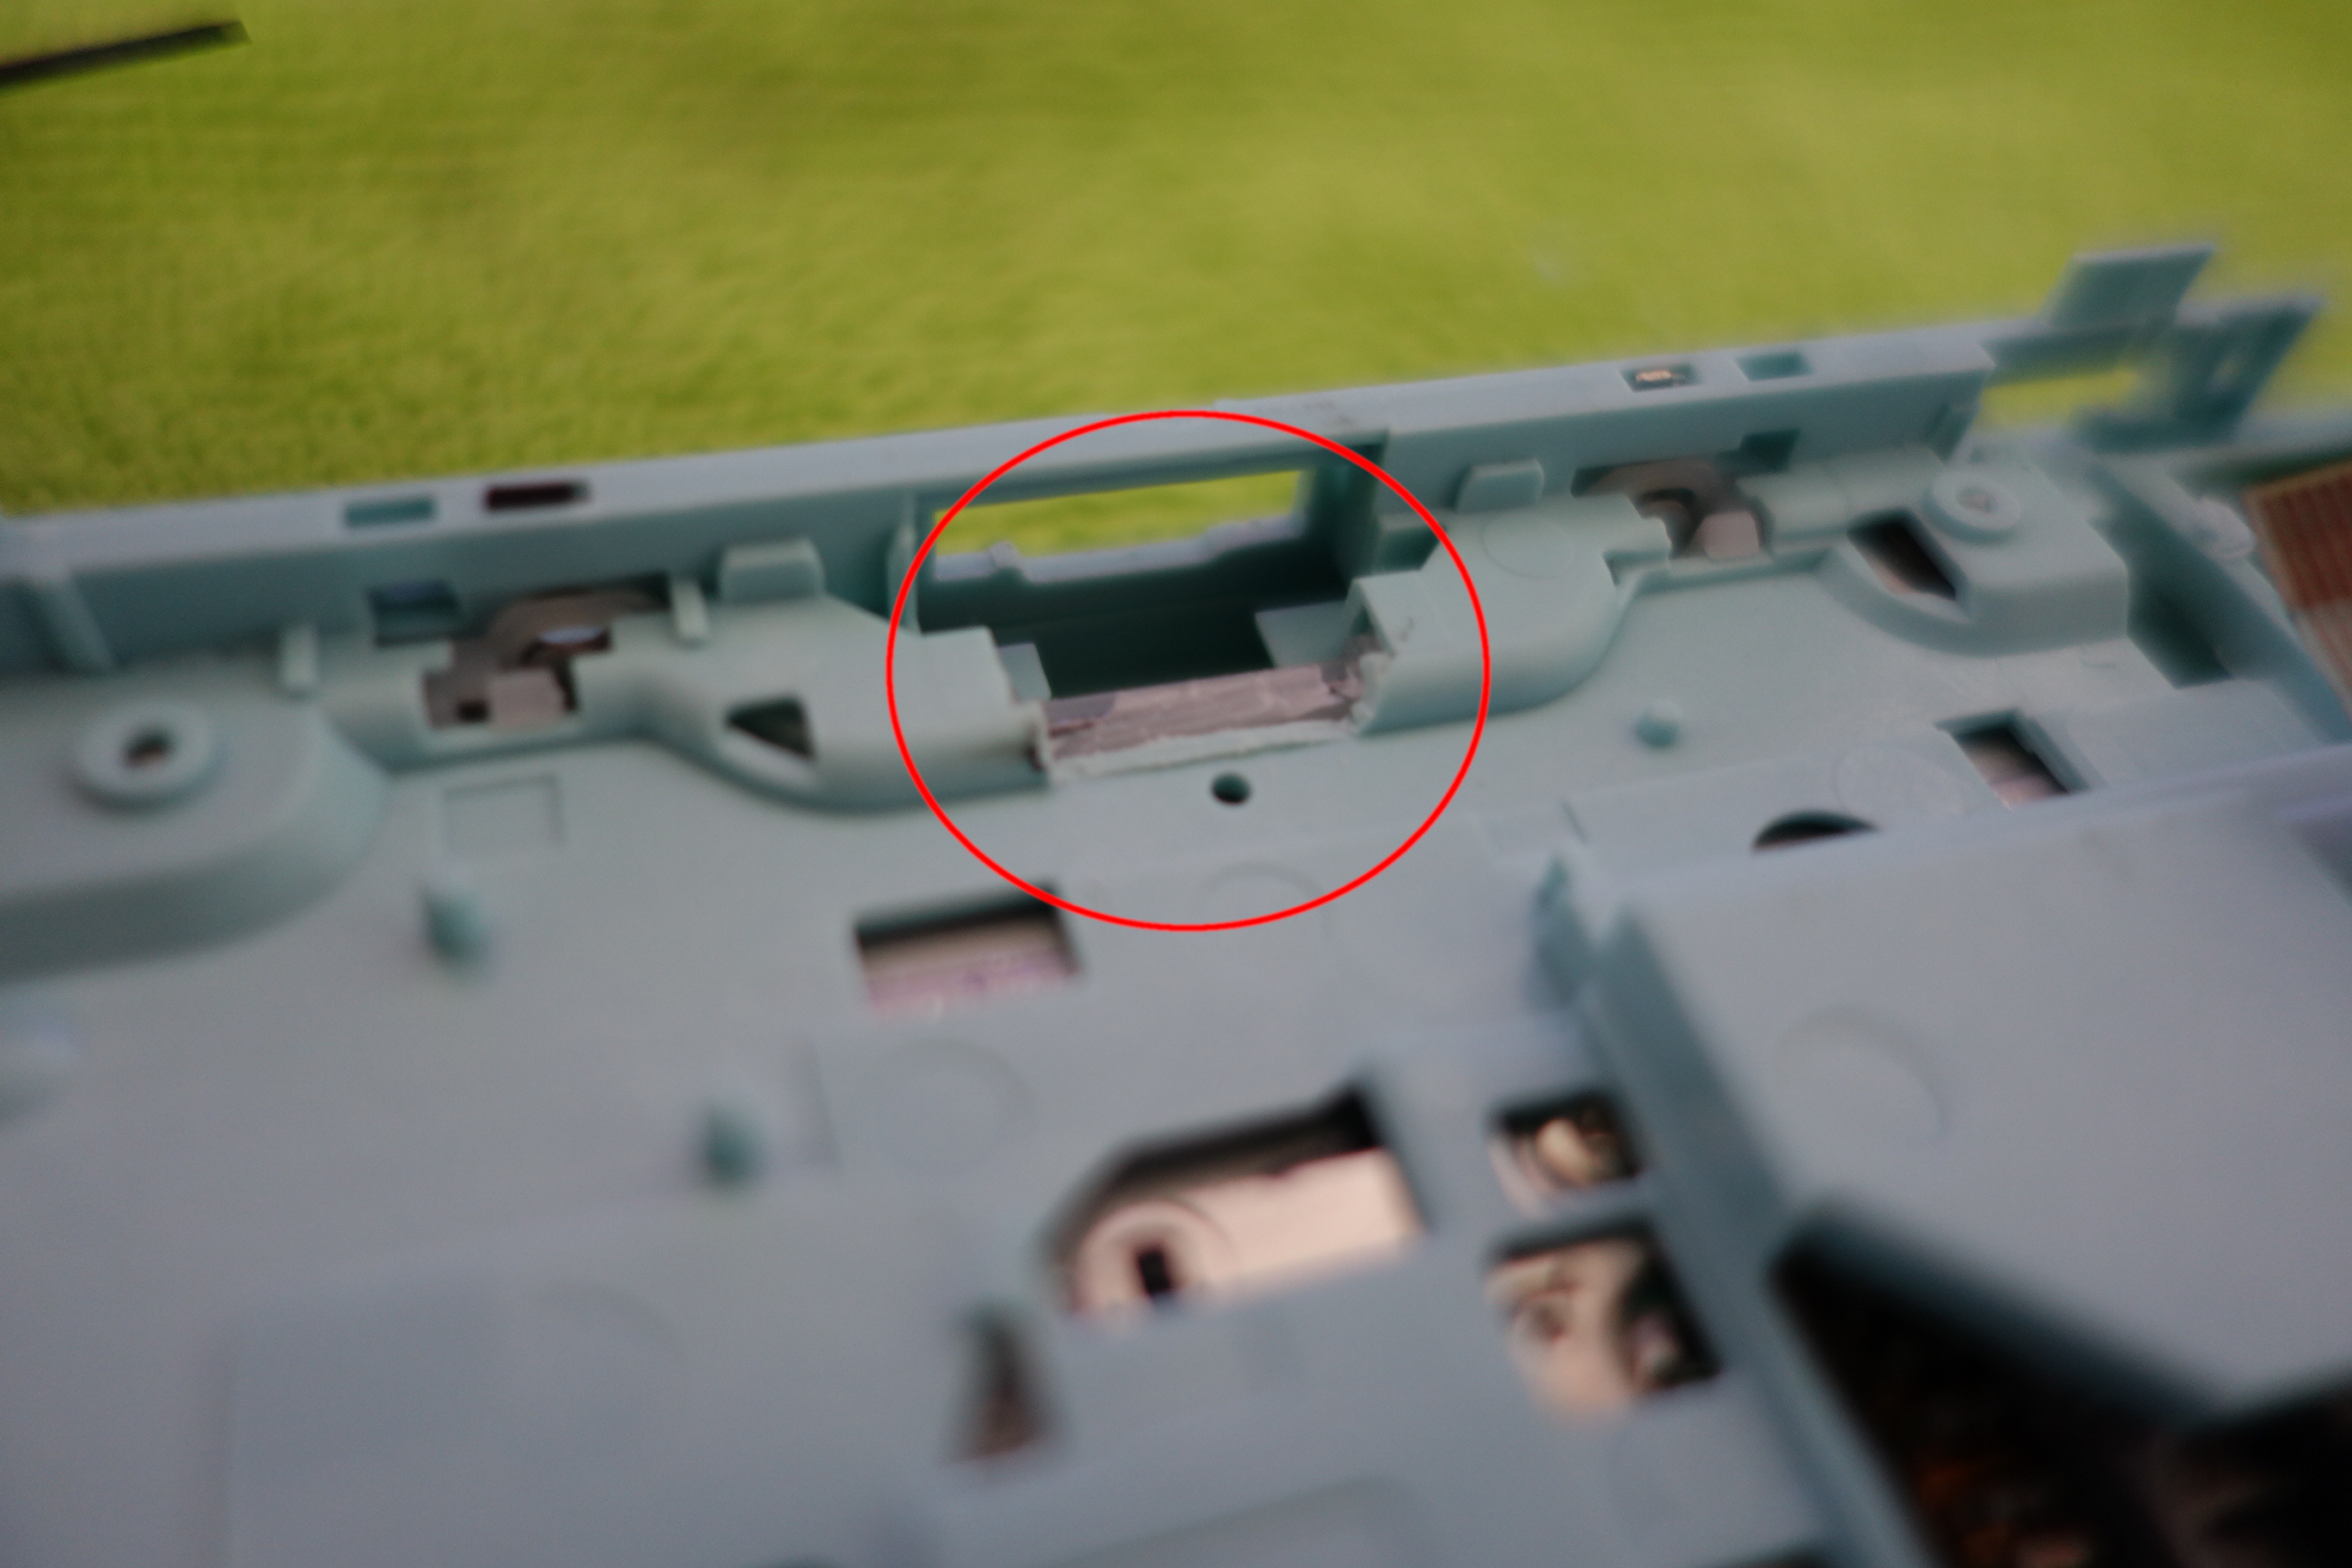
You will also need to cut the little tabs on the edges of where the Mini USB port would sit in the housing in order to fit the extra width of the USB-C port, I just used my Xacto knife for this as well. It should end up looking like this. The same routine needs to be done on the housing rim that goes on top of this as well
|
| Click for full image. |
|
|
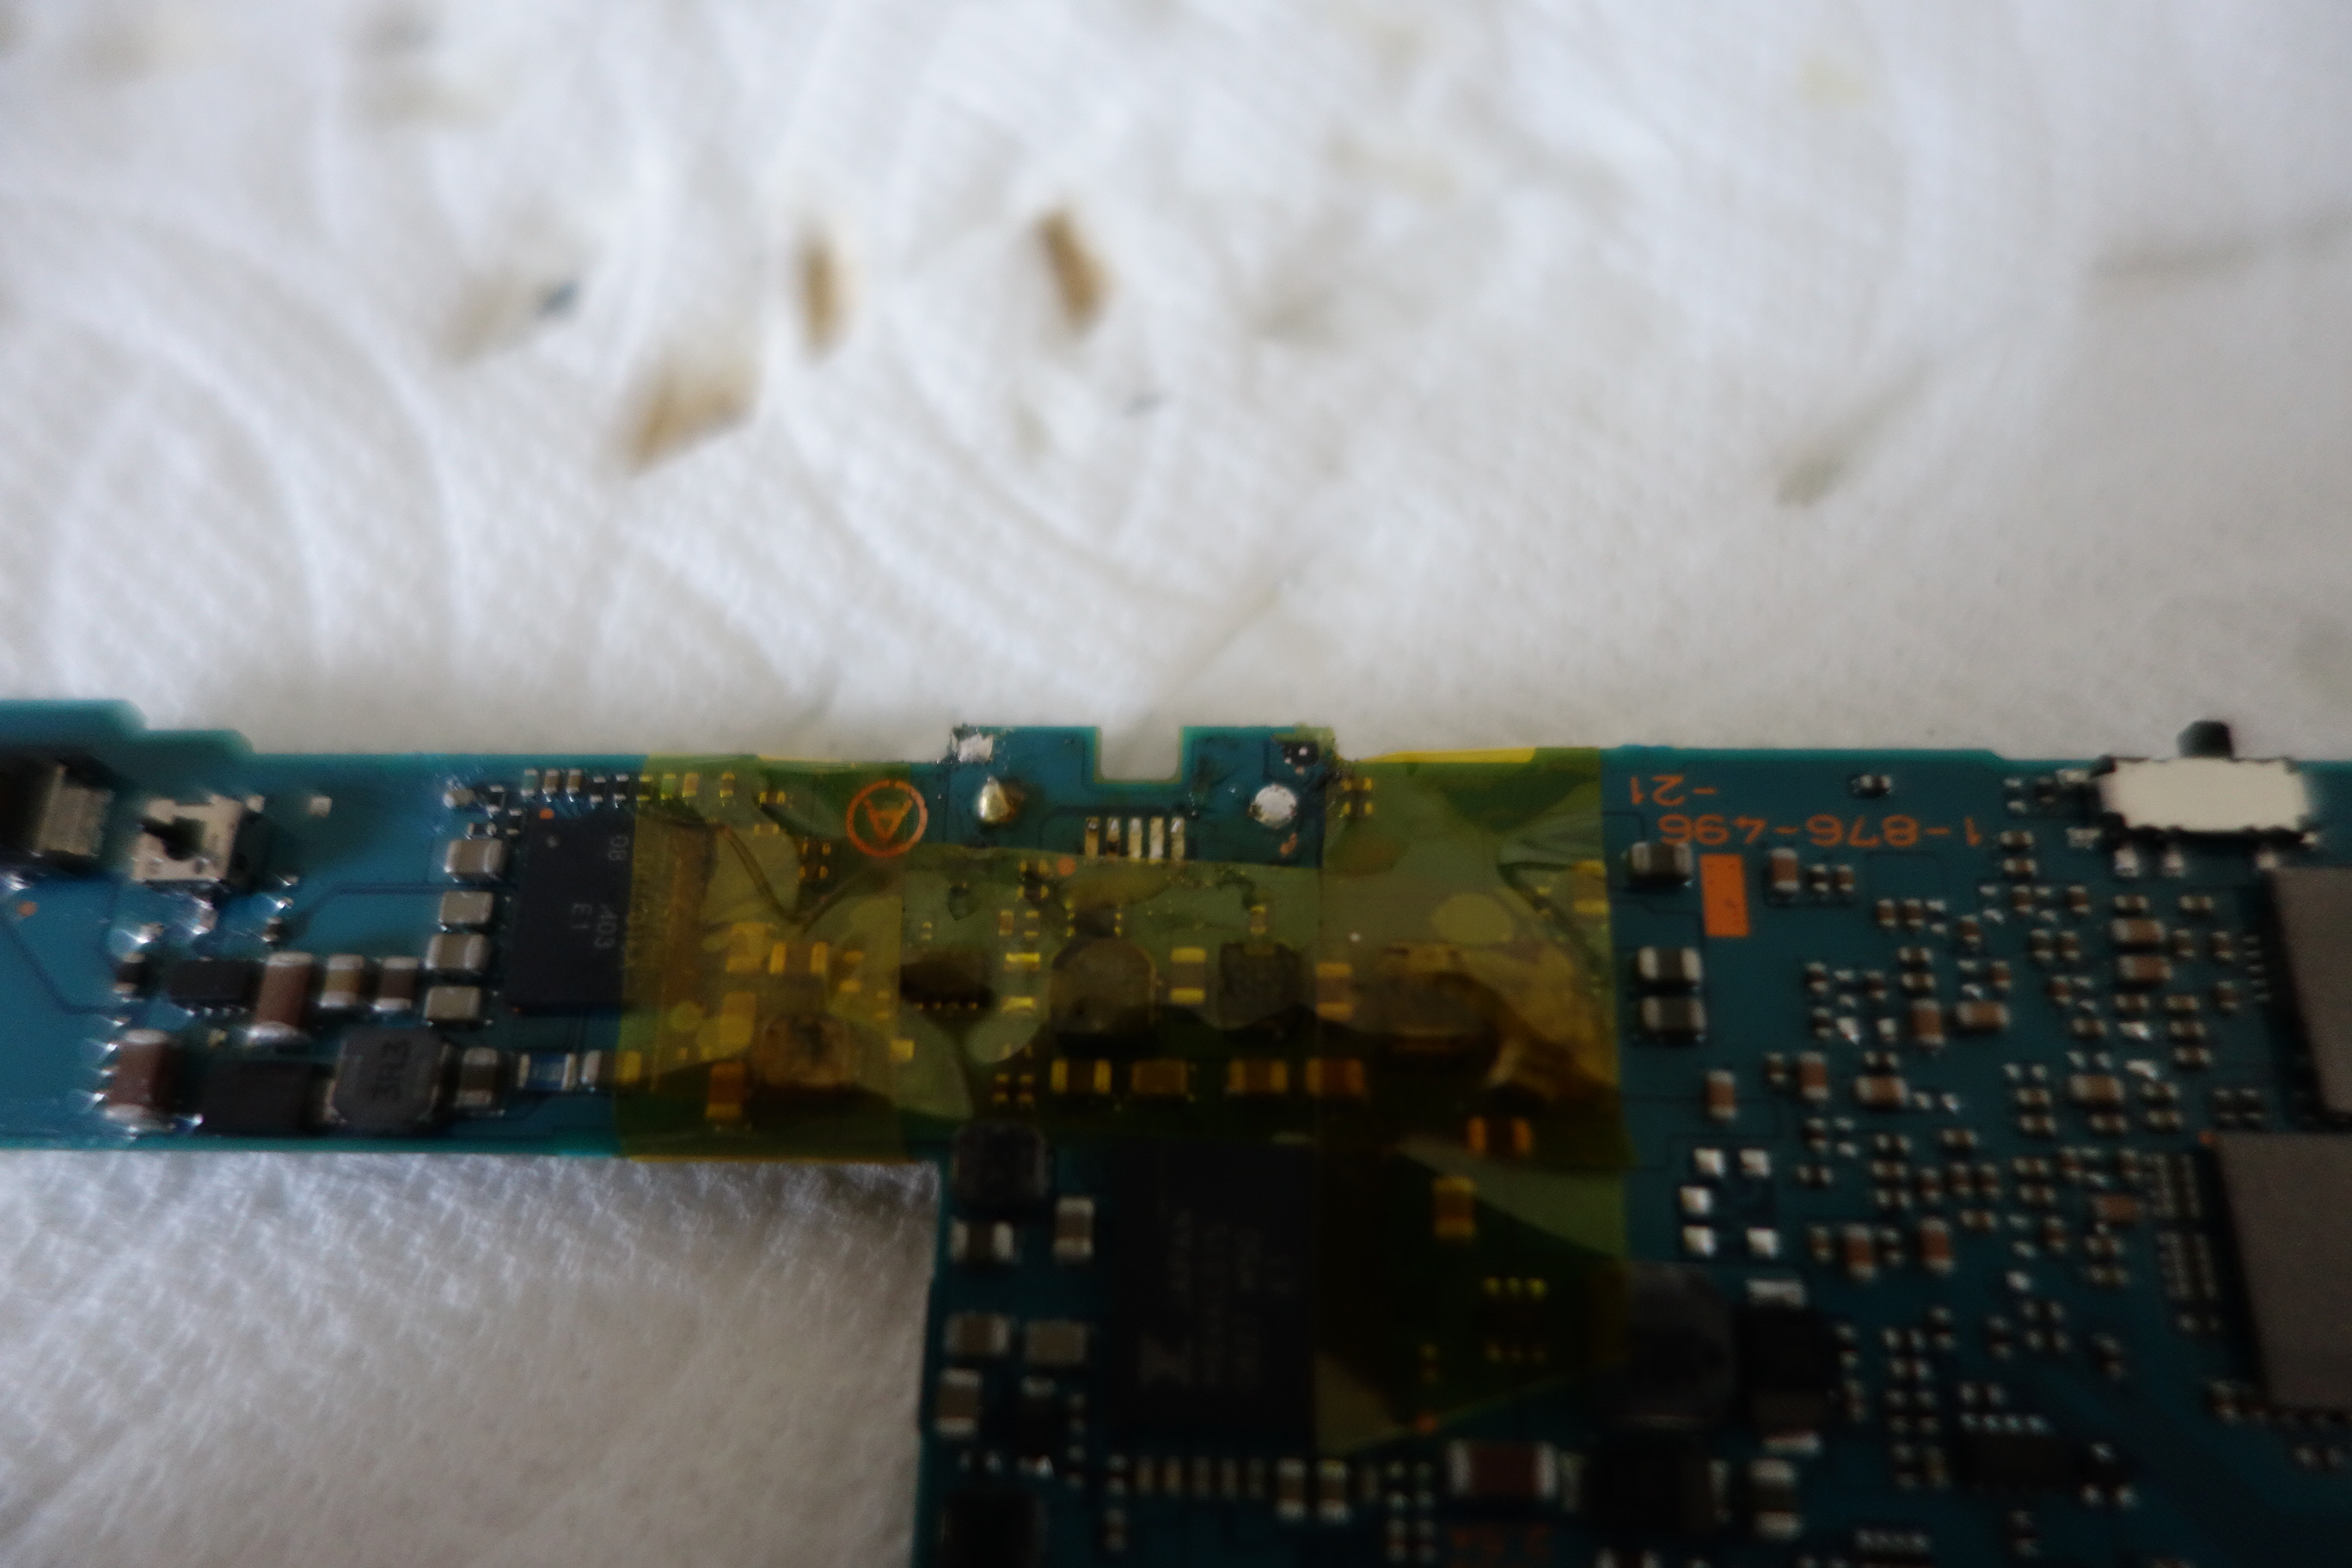
Removing the Mini USB Port
This was kinda tricky because I wanted to do this without damaging the port, but I didn't really have the equipment to do that. I had a soldering iron, but I was worried about removing other important surface mount components, and I had a heat gun, but it was too big and I didn't want to ruin anything by overheating the board (or my fingers). So in the end, I used my flush cutters to snip the plastic and metal casing on the port off (Note that if you do this, BE CAREFUL TO NOT SNIP CLOSE TO THE SOLDER PADS, YOU WILL DAMAGE THEM), adding kapton tape to the surrounding components to protect them, and then removed the pins with my soldering iron and some desoldering wick.
|
| Click for full image. |
|
|
And when you do that, you should be left with this. This is a bad picture, but there are 5 pins on the board, 3 of which we will need.
|
| Click for full image. |
|
|
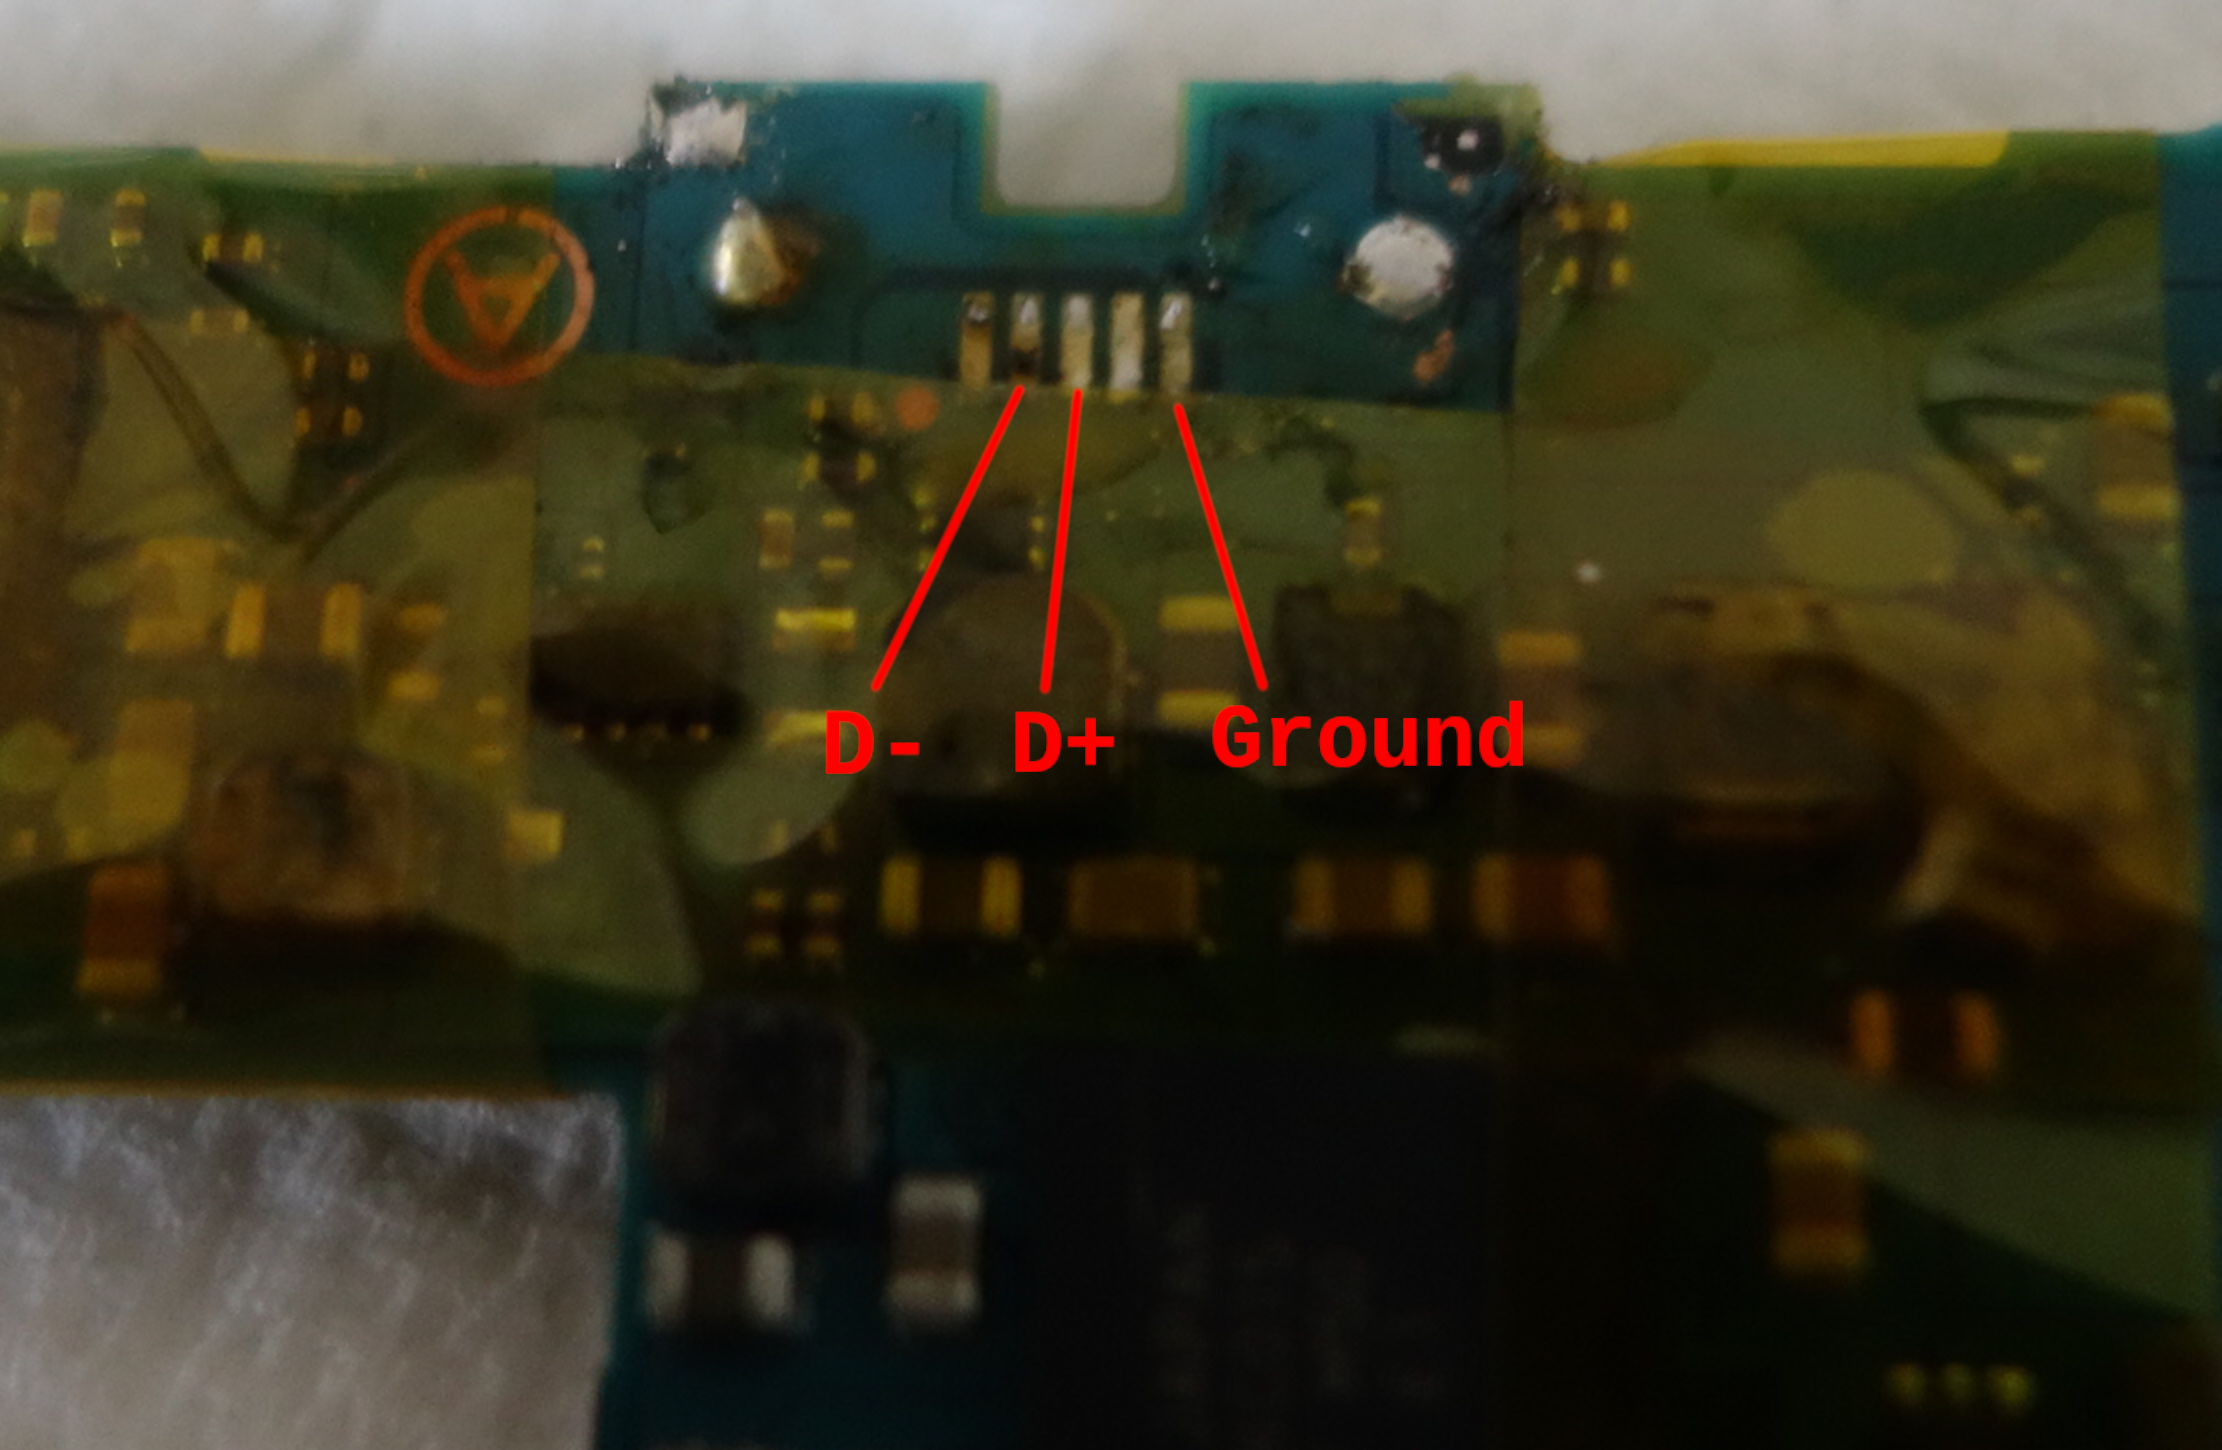
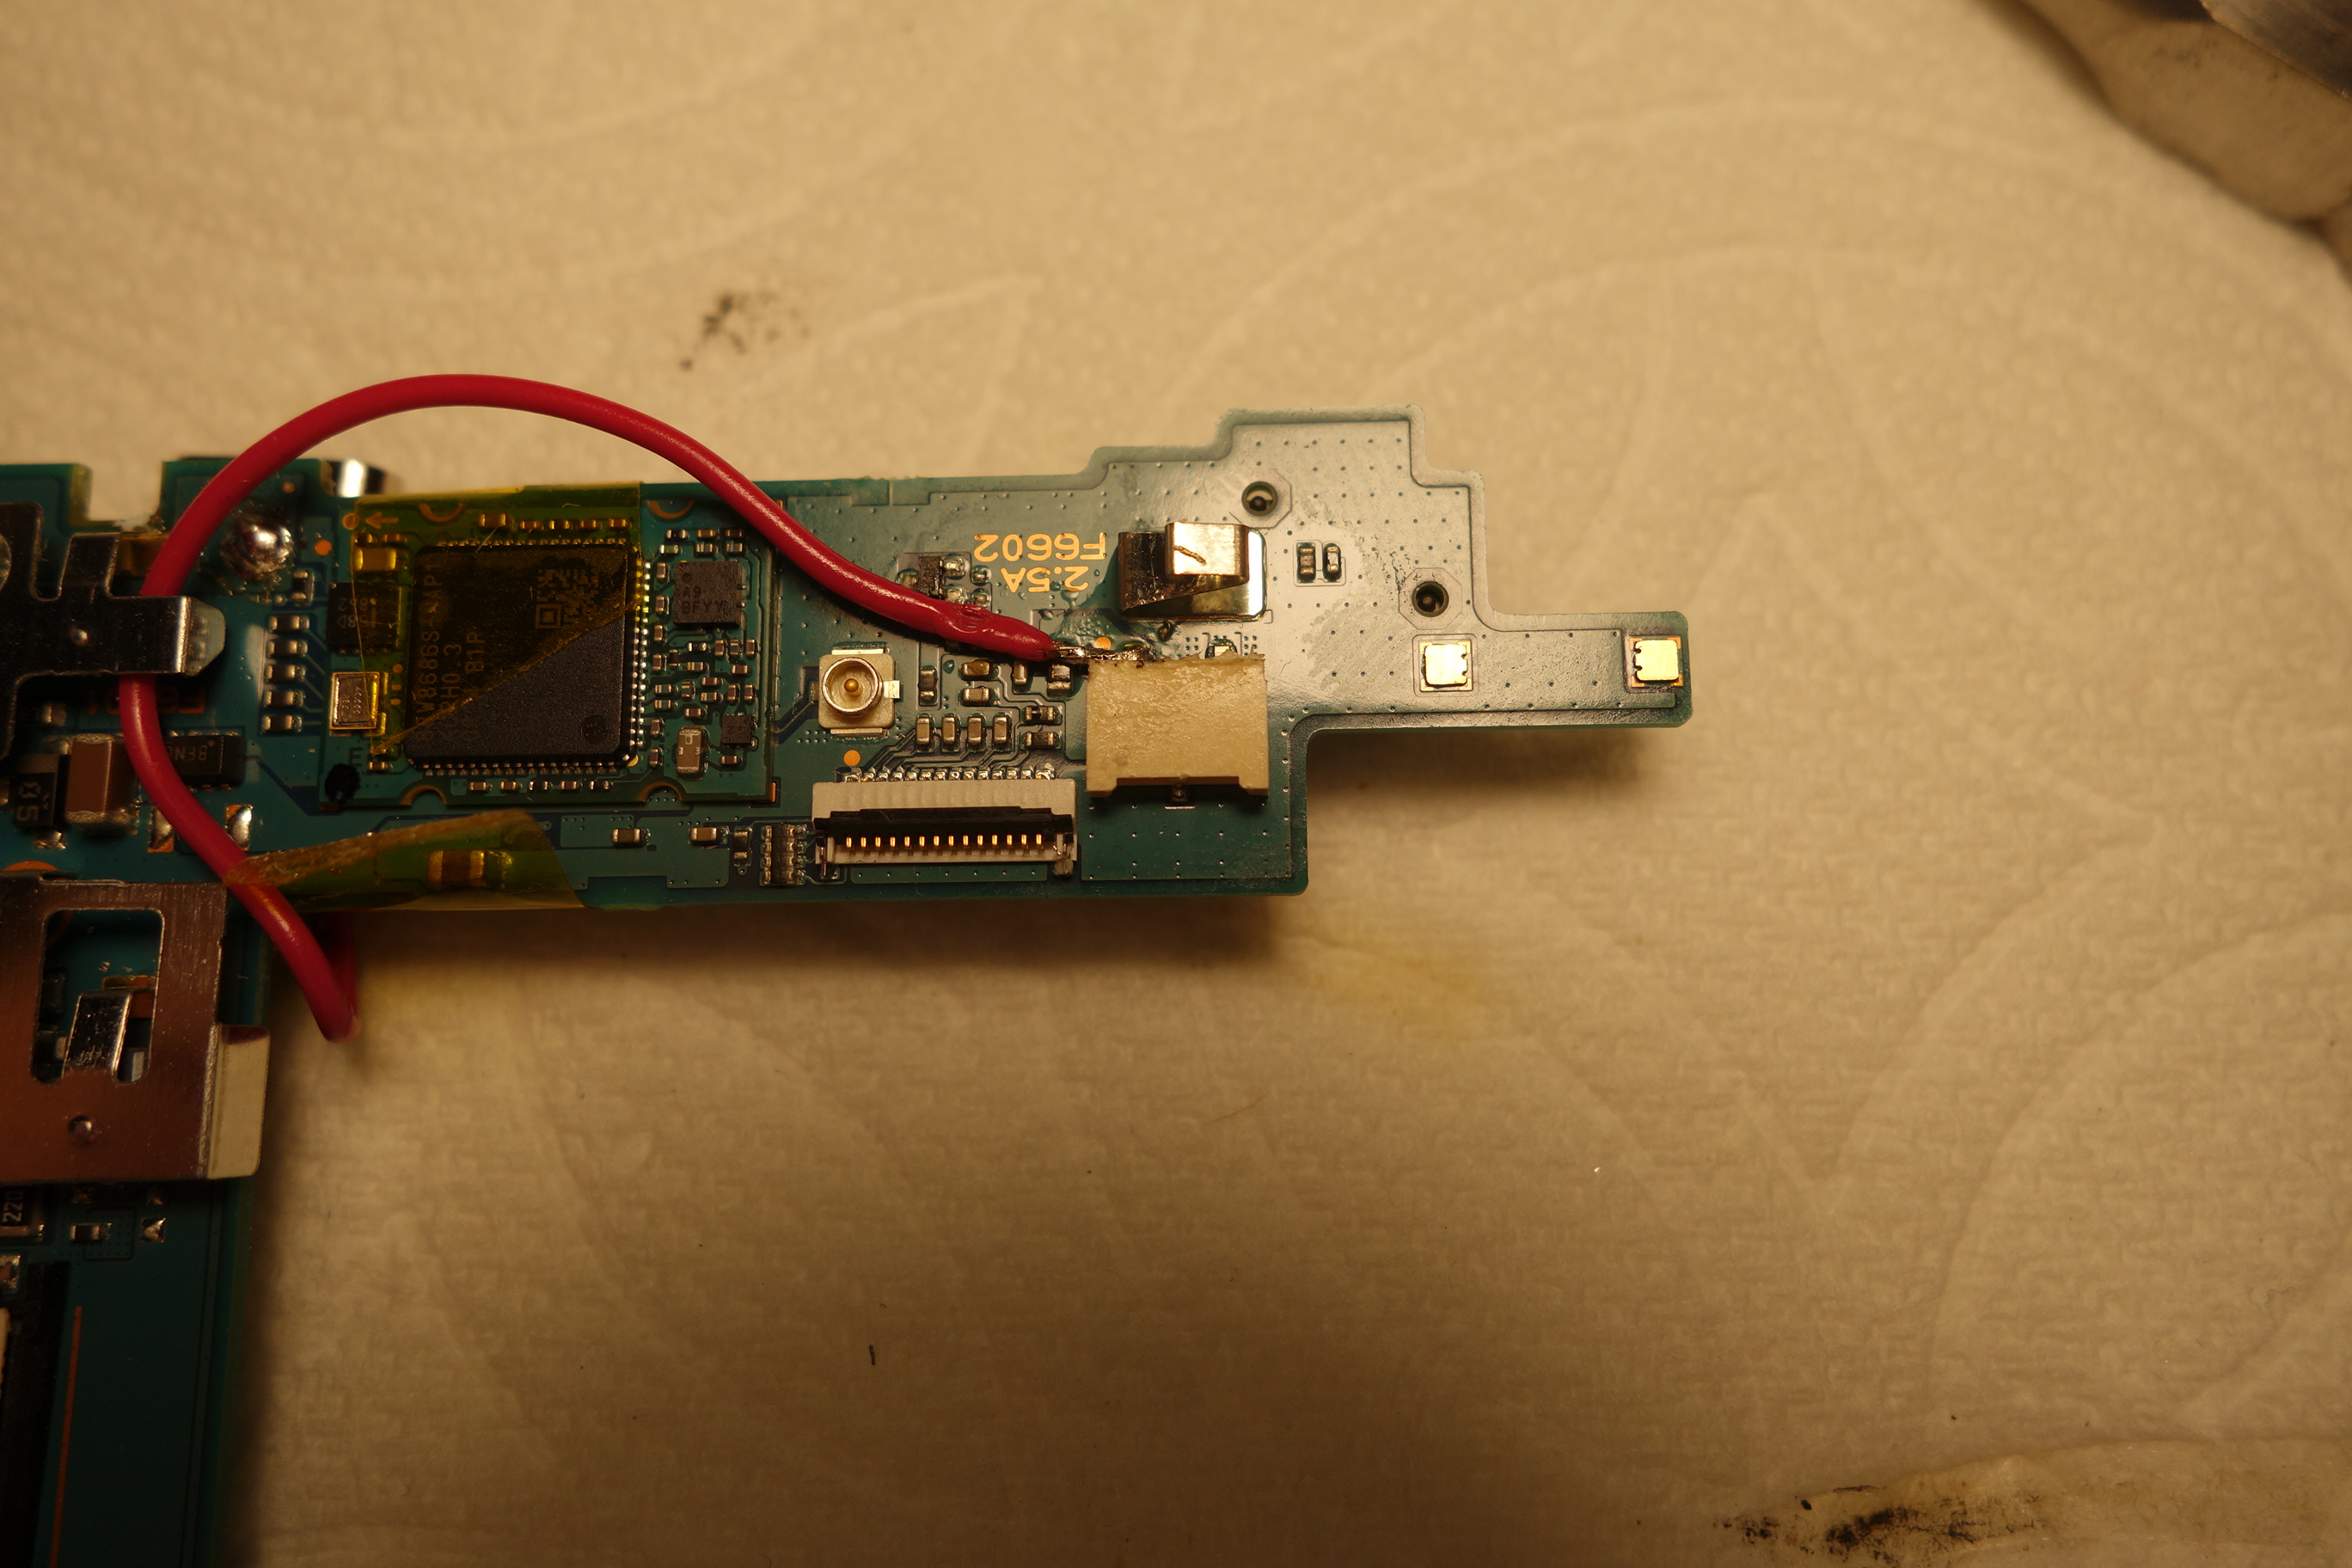
Installing the USB-C Port
We will be getting the +5V from the left pin of the charging port connector inside (sorry for the pic with the wire).
|
| Click for full image. |
|
|
From this point, you can solder all the wires from the pads on the main board to the pads on the USB-C board, which are labeled appropriately. Make the wires very short since the insides are extremely cramped.
As for the data lanes I mentioned earlier, yes I was going to wire them, but I ended up not doing so because I didn't have wire thin enough to put all those wires on the board. And I could always just plug in the SD card from my PSP to my PC, so I ended up not wiring them. However, if you want to, it's just two extra wires, the D- and D+, which should be self-explanatory.
Mounting the USB-C Port
I don't have any pictures for this section, but I hope my explanations will do the job.
Before mounting anywhere, WE NEED TO PUT KAPTON TAPE AROUND THE AREA AND PORT. This will ensure nothing shorts inside since the wires and USB-C board will be touching the main board. Once you do that though, it should be protected.
As for how to mount it, I know it's not the most long-term or secure, but hot glue did the job pretty well. I just put it under the port and on the sides, which made it hold on pretty well, and I think it will be fine as long as you don't abuse the port and take care of your electronics like you always should be doing. :)
Finishing Up
From there, just put the board back in and begin reassembling the system like normal. Just be careful with the wires and make sure the fit inside isn't too tight. But from there...
That's it!
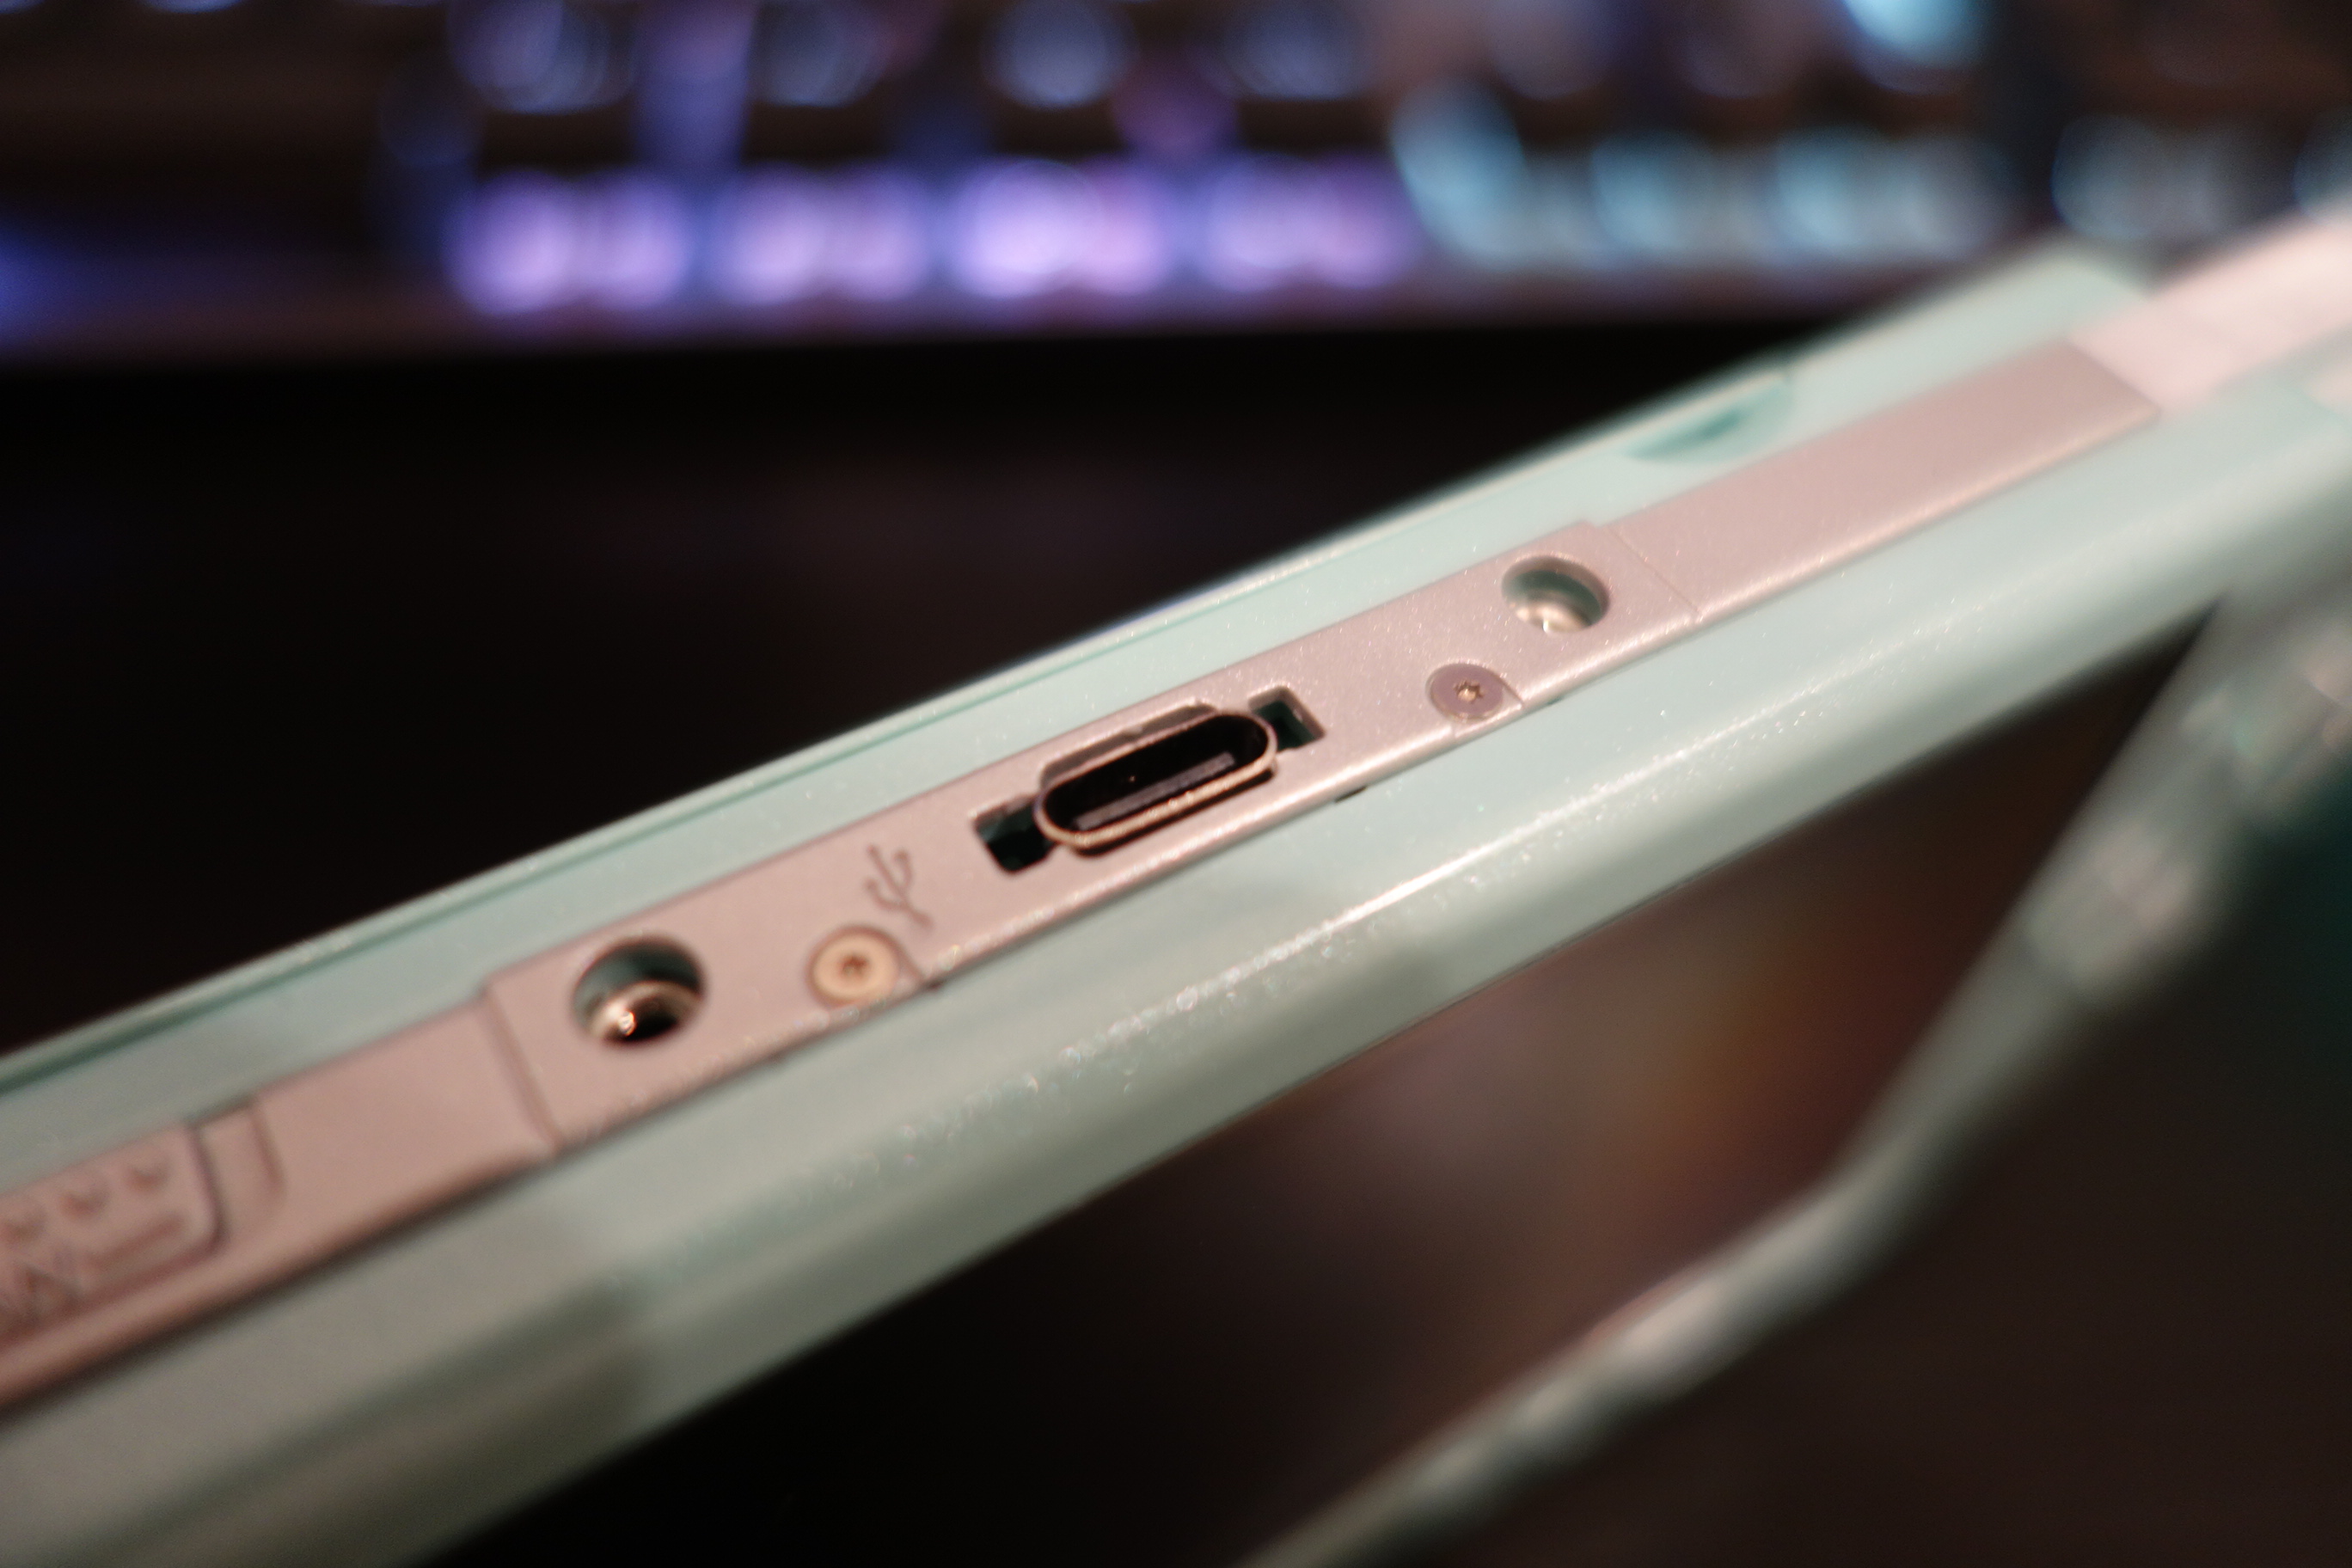
And when you plug your PSP in, it should charge.
|
| Click for full image. |
|
|
Closing Thoughts
|
| Click for full image. |
|
|
While I'm somewhat disappointed about not getting the data pins working, overall I'm really happy with how this mod turned out, it really helps to be able to charge with USB-C on the go and, hopefully, will make me want to use this more again, now that it's slightly more convenient to use. Besides that though, this was really fun and interesting to do, and I hope my struggles can help someone else who wants to do this as well.