Fixing an old SONY Dream Machine
July 19, 2023
A couple of days ago, I went to Goodwill and found this SONY Dream Machine for 5 dollars, and decided to buy it simply because… well, it looks really neat. And hey, if it doesn’t work, it’ll serve as a simple repair project, so I bought it for 5 dollars.
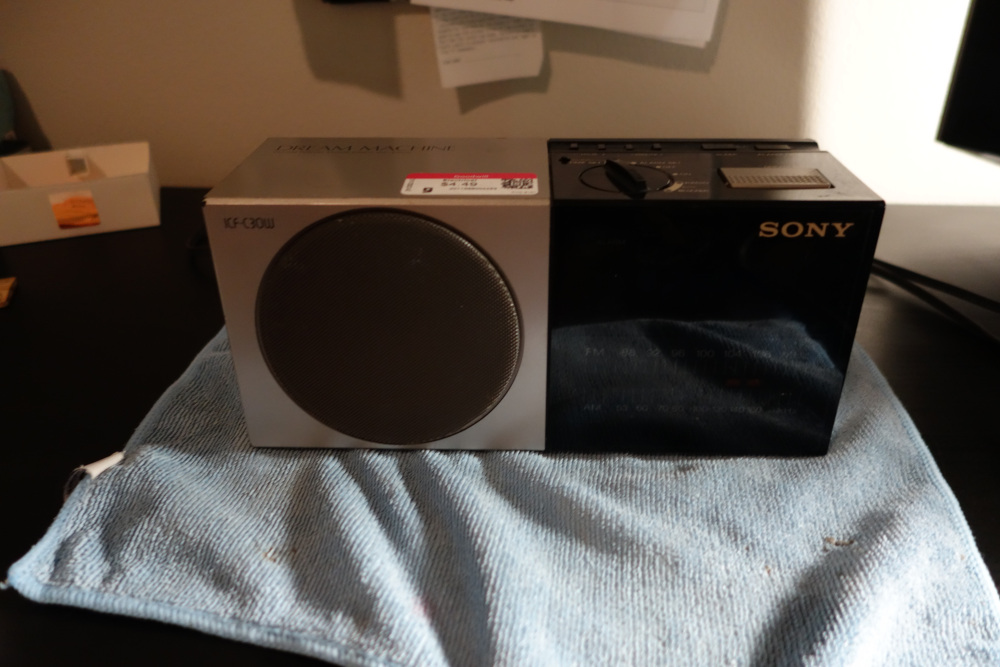
First of all, I tested it to see if it works, and it… sorta does? I couldn’t change the time on the clock for some reason, and the radio only worked half of the time. So it was time to do some repairing. But before that, it needed a clean, because man, was it nasty! I don’t have any pictures showing the grime up close, but it was baaadddd. So I gave the surface a quick wipe down and then got a screwdriver to unscrew the really deep screw holes (like 2-3 inches deep!). After I got in, I was a bit intimidated at first, since the internals look kinda like this:
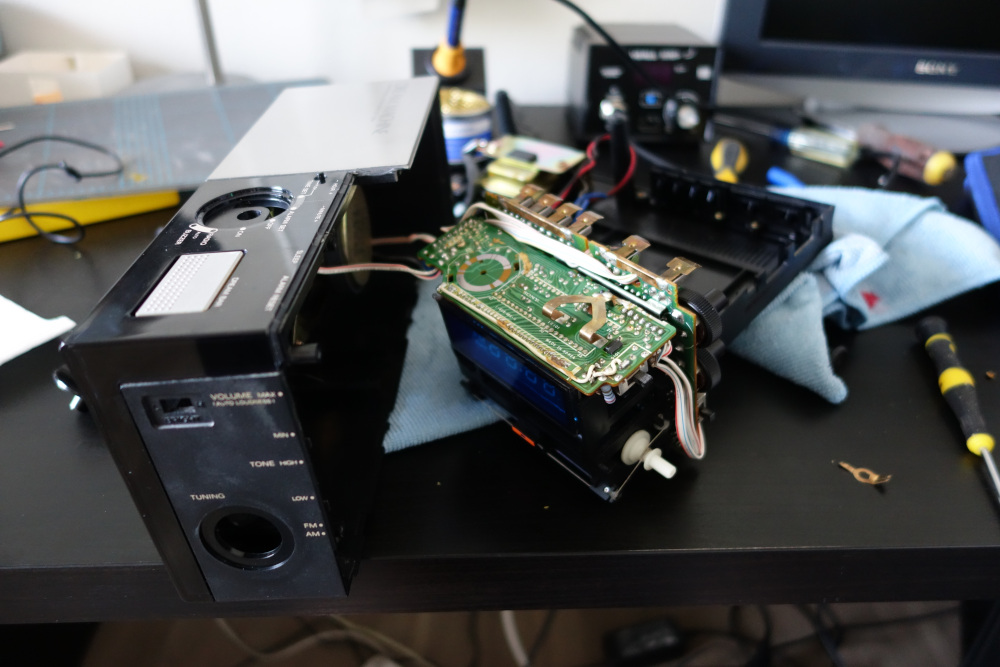
This picture is from the end of the repairs, but you get the idea...
A lot of it was in one giant core that was made of a bunch of different parts, and the wiring was super short and tight, since they needed to really compact everything. One thing I noticed was that the ferrite bar used for the radio was loose inside. It seems that it came off of the black plastic clip that it was originally mounted in, so I glued back whatever pieces of the mount I could find and then used hot glue to finish the job, and it sat in there pretty well.
Next, I had to clean the rest of the system inside, which was REALLY dusty, so I just took a canned air and blew all the dust away outside. From there, after a while of digging around and figuring out how it all worked, I found the problem.
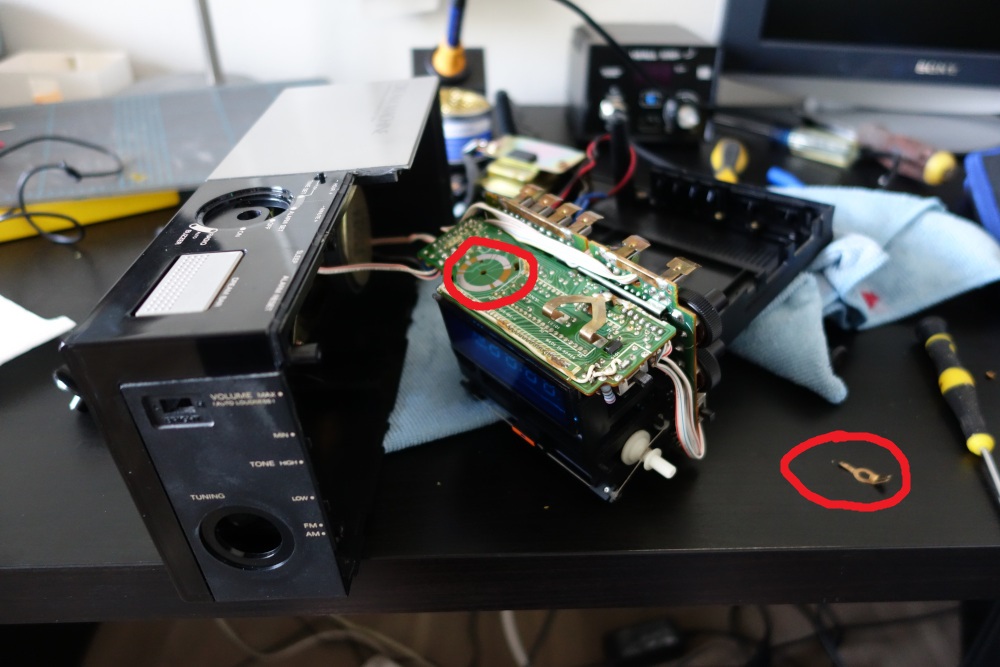
So there’s this dial on the top of the system that allows you to set the mode of the clock (ex. set time, radio on/off, alarm, etc.), and it works by having that metal piece on the bottom right rotate around the circle with pads circled on the left. As it rotates and shorts different pads, it tells the clock to set the modes differently based on rotation. And the plastic piece that was supposed to hold the metal clip and rotate it… shattered.
Luckily, I was able to get the pieces together and use plastic cement to glue it back together. I don’t know how strong it is, but I tried it and it was strong enough to withstand turning the dial gently. I don’t plan on using this as anything other than a clock, so this was perfectly fine.
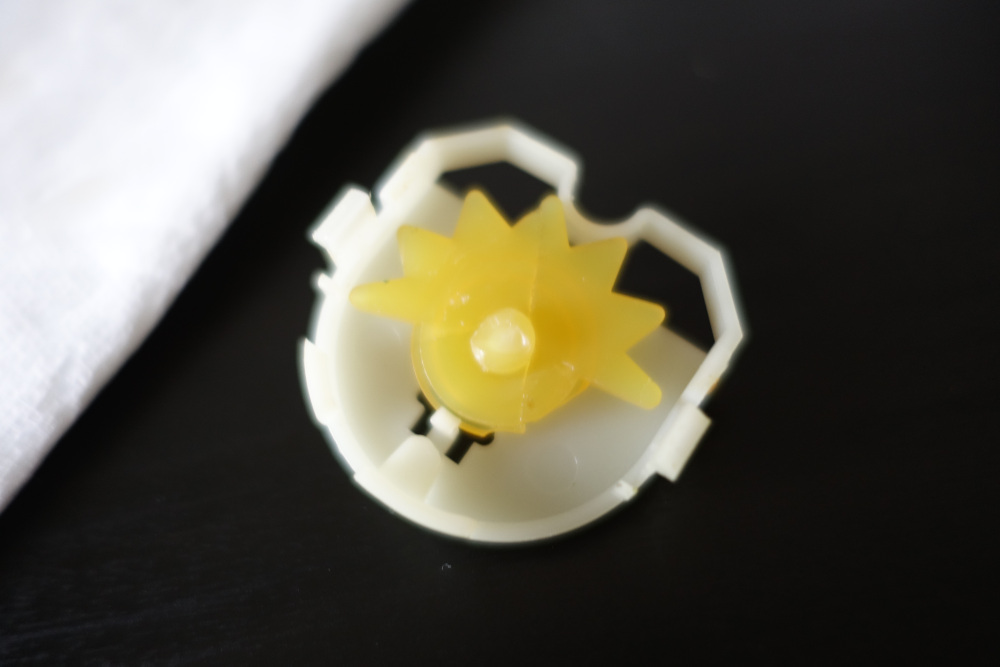
Here's what the piece looks like after being glued back together.
From there, I had to fiddle around with getting that metal piece in the dial aligned properly since the plastic that would’ve done that was kind of broken off. After a while, I found the correct rotation and sort of mounted it… I tried to glue it but it’s not super strong. It should stay just fine though. And with that…
The clock is fixed!
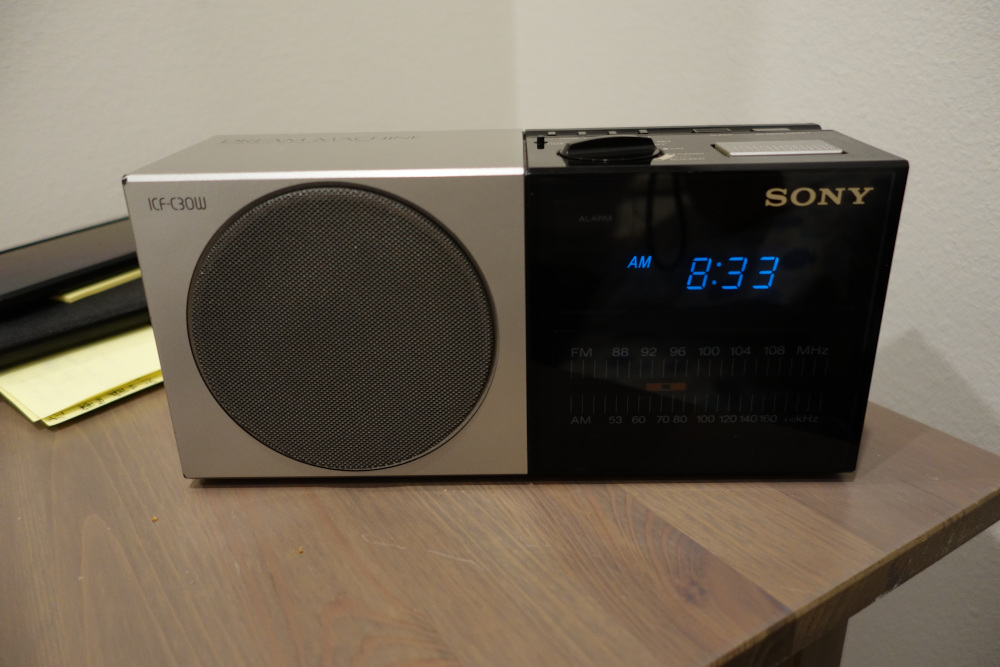
Looks so nice...
Now, it sits on top of my night stand and replaces my old clock. I (mostly) had fun doing this, and I actually learned a bit from it as well. Maybe I should buy more random electronics from Goodwill to fix them and use them for no reason…